I am in the process of putting together a post about our classroom art center. Well, ladies and gentlemen, you will have to wait at least one more week for that post. In the meantime, I want to share this seasonal hand painting book idea before I miss the next three holidays!
The kids painted one page of this book every week from mid-October to Christmas break a few years ago. It was a fun counting, art and sensory project as the kids had their little hands painted with a brush to make the following designs.
So without further ado...I give you "Look What My Fingers Can Do!"

The Cover: Look What My Fingers Can Do!
By:______________

Page 1: One finger makes a pumpkin,

Page 2: Two fingers make a candy cane,
(on 3 by 4 inch construction paper)

Page 3: Three fingers make a ghost,
(on 3 by 4 inch black construction paper)

Page 4: Four fingers make Santa,
(on 4 by 4 inch green construction paper)

Five fingers make a turkey,

Six fingers make a tree,

Seven fingers make two Native American Indians,

Eight fingers make a spider,

Nine fingers make a Christmas tree,

and ten fingers make a reindeer!
There you have it...what 10 little fingers can make!
To download the pages of the book click here. A few housekeeping tips for making this ongoing project:
1. Store the finished pages in a file folder system by the art center. I got mine at Wal-mart a few years back. It has been a lifesaver. Label a hanging folder for each student. Then, as the students finish each page, you can file them in their folder for easy book making at the end of the project.
2. At the end of project, have the book making scheduled in your lesson plan as an art activity so you or a staff person do not have to take extra time to put it together. The students will love helping and it adds a numeracy and literacy activity to their day, making them have more ownership of the book they made so they will go home with excitement to read it to their families!
3. Have a plan for what students will do when they are not painting their page. For example in our classroom, the staff person who is doing art will set all the kids (in her small group) up with open ended art activities from the art shelf such as markers, watercolors, bingo daubers, or play dough and then have each student paint their page one at a time. This eliminates down time by giving the students something to work on while they wait.

It also offers them choices by allowing them to choose an art activity either verbally or with an aided language board.
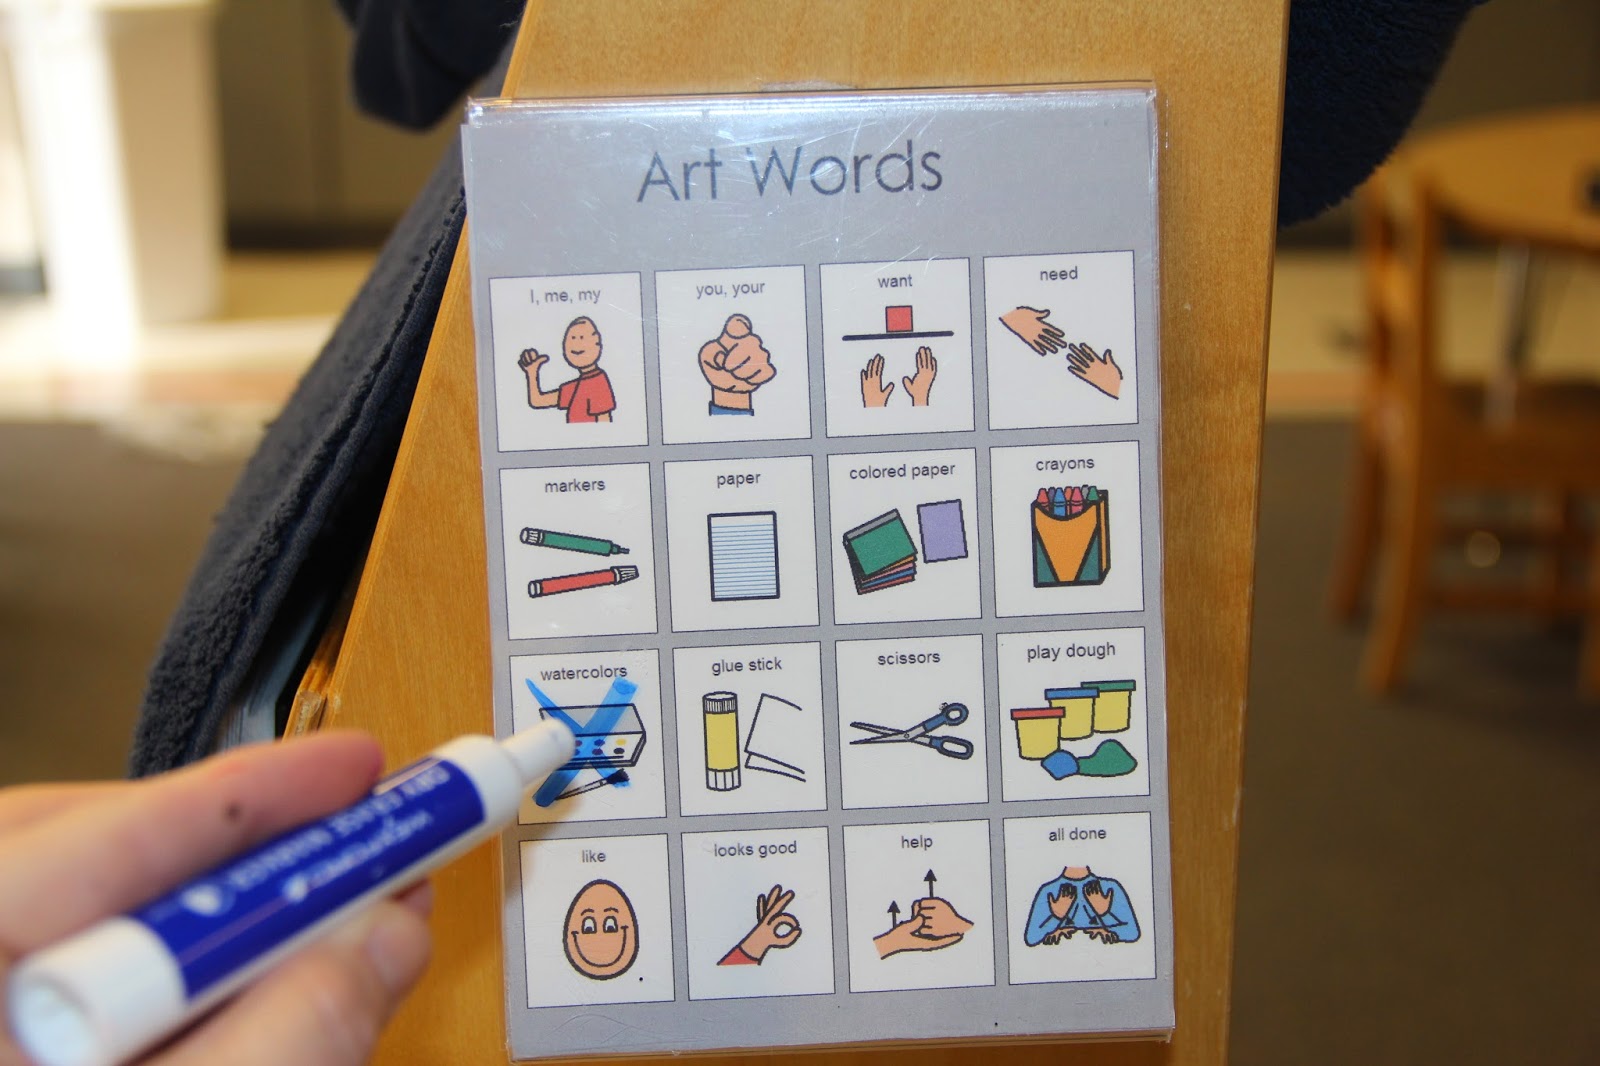
Tip: If you put the aided language page in a plastic frame you can use
a dry erase marker to mark off art materials that are not a choice for the day.
Choices make the world of special education a much better place. By offering two choices you are okay with, the students feel they have some power and we are not giving up too much power. For our reluctant painters, just saying, "Do you want to paint first or do (play dough) first?" Helps their anxiety toward painting go down as they have a choice!!
We will get into this more at a later date. For now I am going to sign off to work on the BIG Art Center Post that will be coming out SOON!
Until then, happy painting! -Lindy

No comments:
Post a Comment