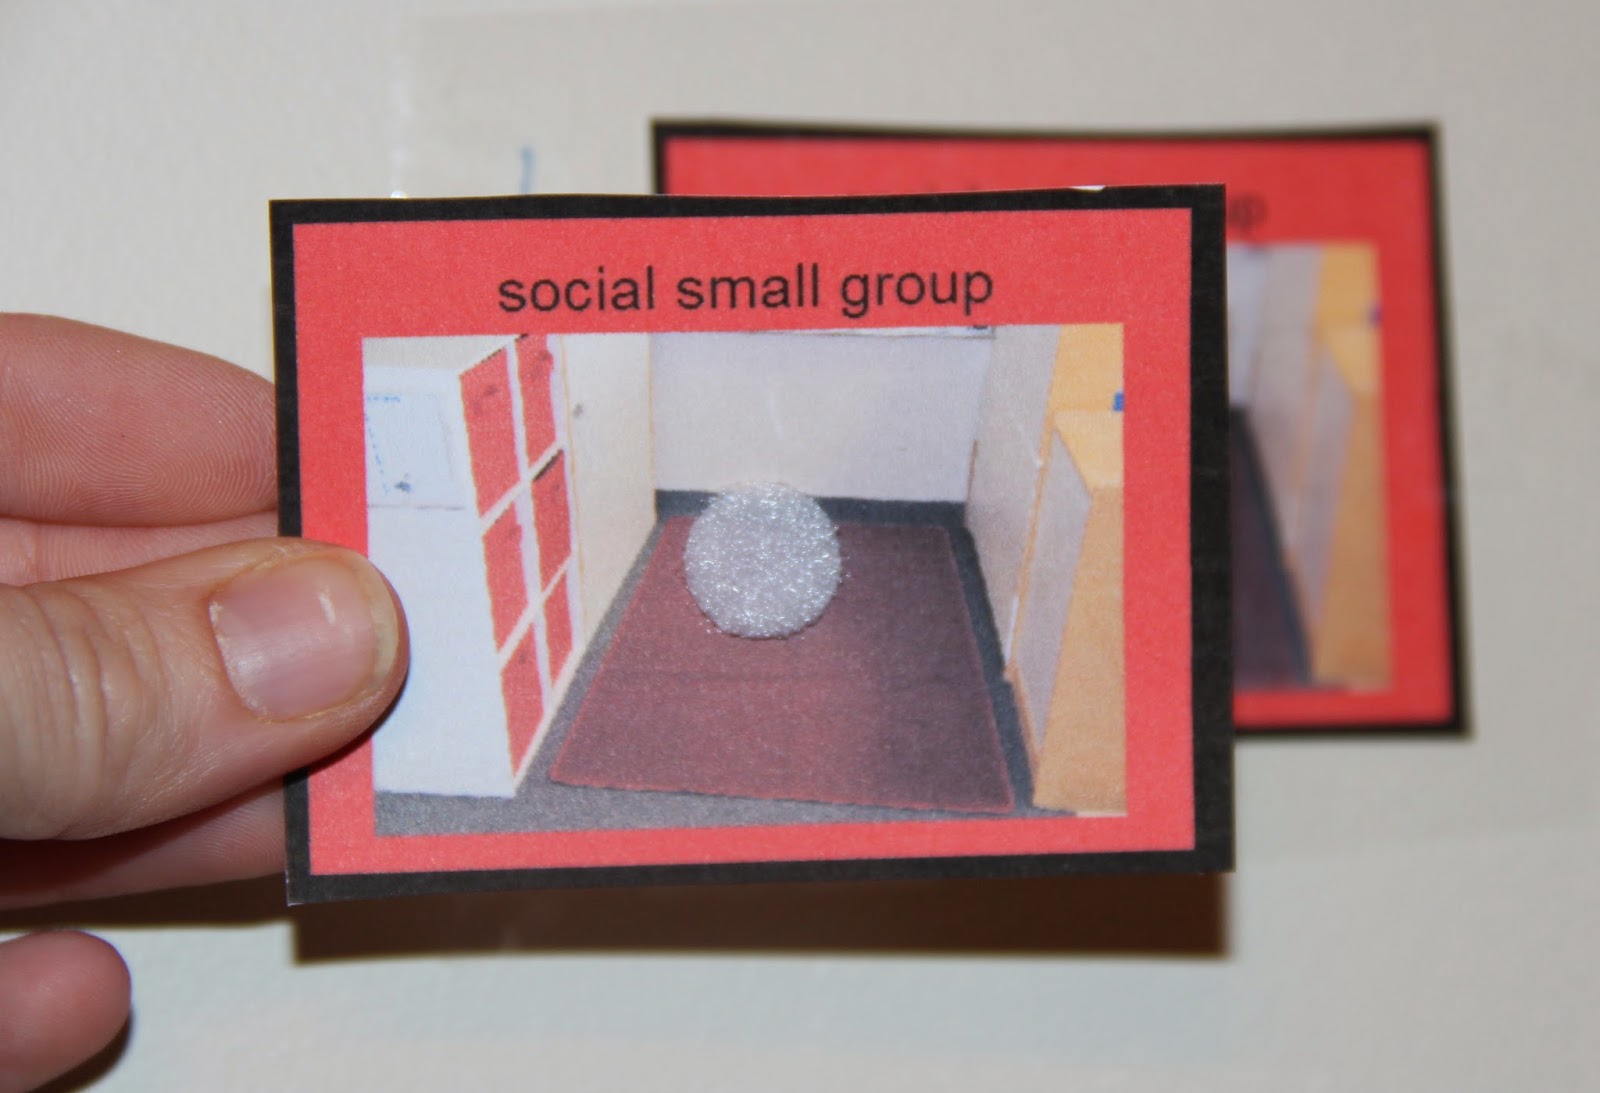
Today's post explores a center that is new to our classroom this year, the social center. The social center was designed for students to learn socially appropriate ways to interact and participate with peers and teachers.
Some students rotate to "social" with only a teacher while others come with one or two peers. It depends on each student’s level as to how many peers join them at the center. The idea is that we provide structured learning activities in which the students can learn skills like sitting and listening, wait their turn, sharing with a friend and/or teacher and keeping hands to themselves. A little side note—we work on hands to ourself and wait your turn using these two visuals. A quick prompt given by the teacher and/or a wait my turn card.
.jpg)
Not all kids use or need this visual. However, we have it Velcroed to the side of our social cabinet so whenever a student needs a reminder to wait his/her turn we have this visual at a close proximity. You can print both the quick prompt and the hands waiting at Boardmaker Achieve Community (formerly known as Boardmaker Share).
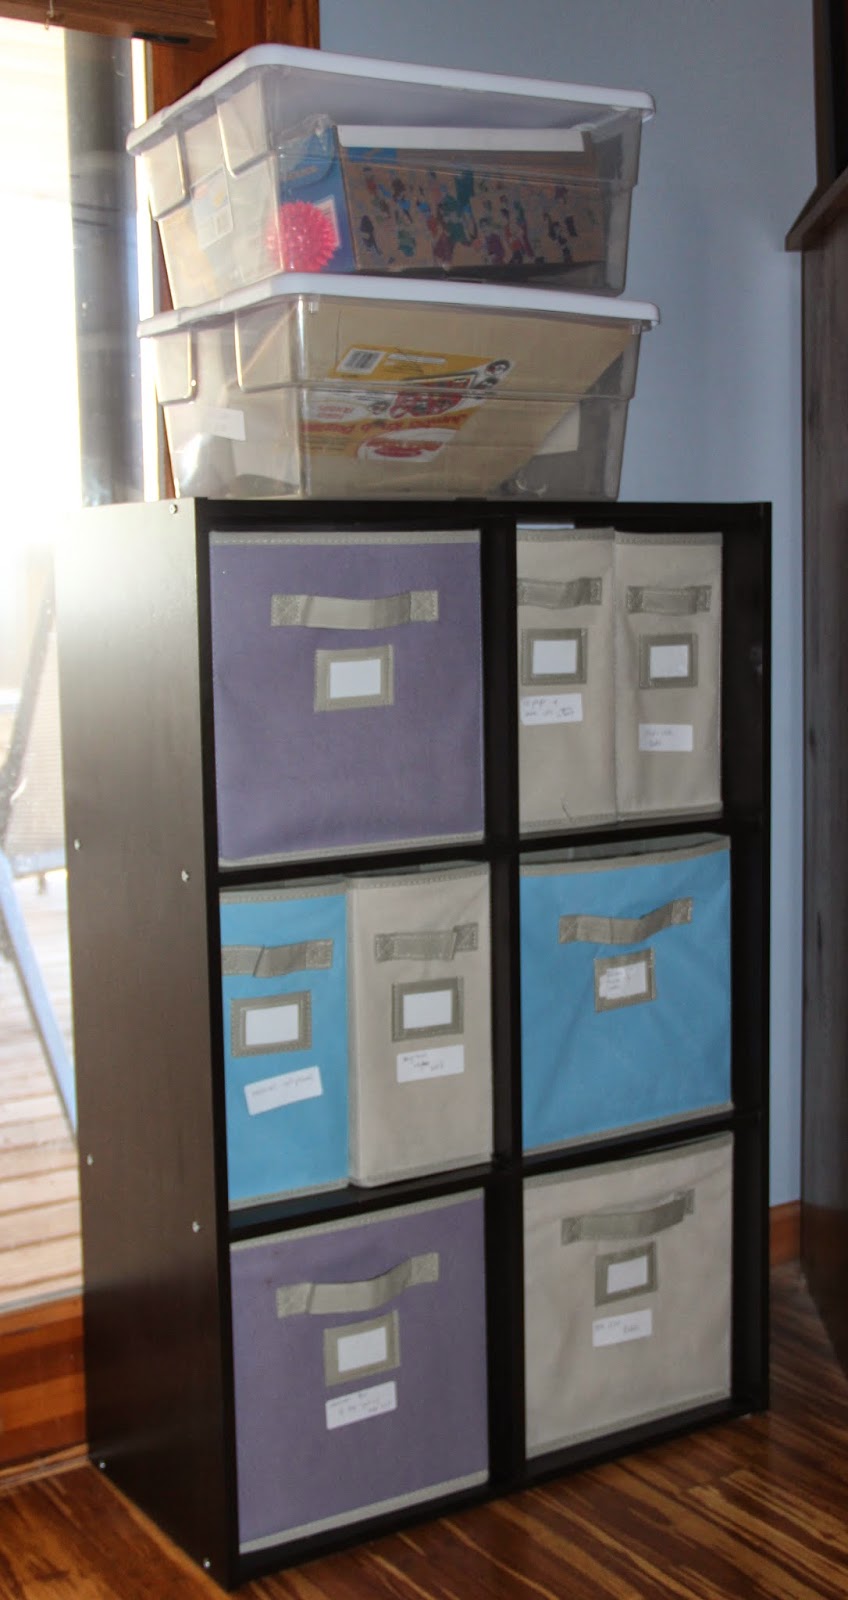
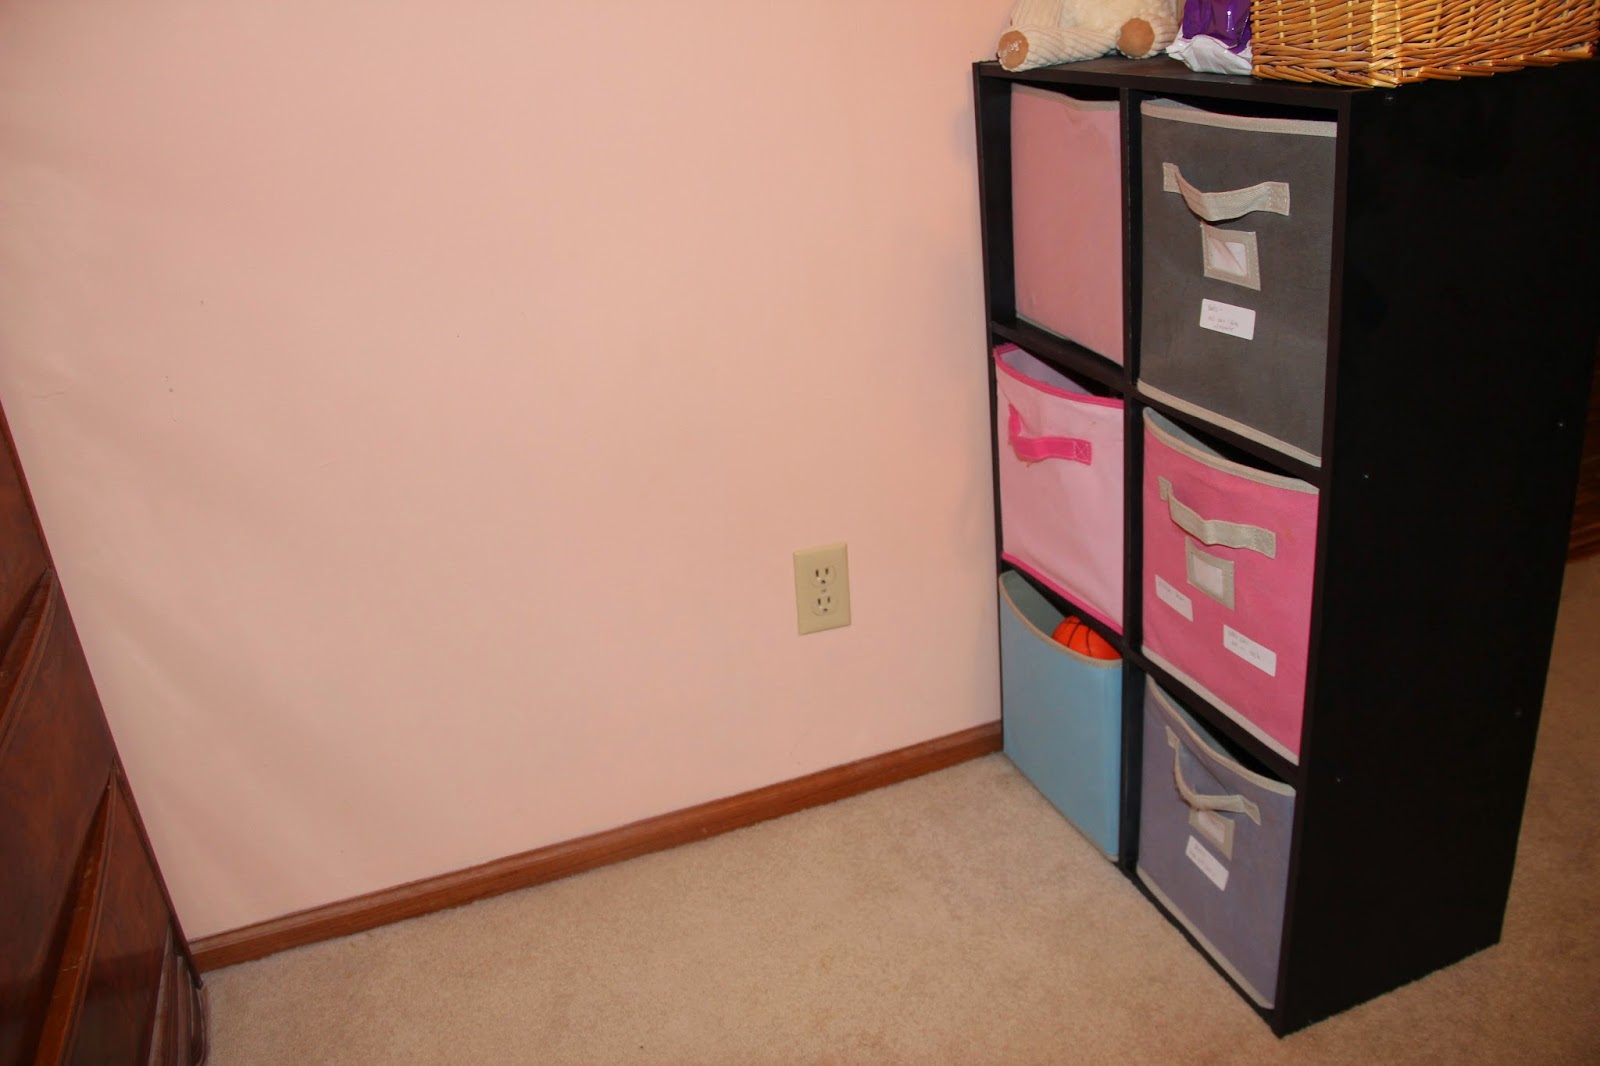
Back to the social center, the students stay at social for 10 to 15 minutes depending on their ability to attend. We want them to be in the space at a level that challenges them without getting into unwanted behaviors or forcing them to stay in the area. With that, I have a series of 5 to 6 structured learning activities for them to work on. They are usually based on the theme we are doing and get switched out every two to three weeks depending on students’ mastery, interest and upcoming themes. All activities are stored in trusty fabric boxes.
As obvious in the above photo, the boxes and carpet in the space are red. The color uniformity defines the space and helps the kids transition to social as well as other carpeted spaces in the classroom using color-coded picture icons.
.jpg)
As you may recall from our classroom tour, every space and center in our classroom is defined by a different color. I am excited to say thanks to Miss Susie from our PT department, we even have red chairs in our social center now!!
.jpg) |
| Thifty Teacher Tip: You can now buy fabric boxes at Dollar General! |
As you may recall from our classroom tour, every space and center in our classroom is defined by a different color. I am excited to say thanks to Miss Susie from our PT department, we even have red chairs in our social center now!!
So you may be wondering what is actually stored in the fabric boxes....the answer is simple, STRUCTURED LEARNING ACTIVITIES! Structured learning activities are simply activities with a clear beginning and end. Visually the students can tell what they need to do and can see how much work they have to do to complete the activity.
In the below video, my boys and I are modeling the social center. Notice how I modify the activities specific to each boy's interest and ability level. For example during the first activity, the boys know how much work they have to do by how many eggs are in the fabric bag. You will also see that I remove some of the eggs so that the boys can finish before they lose interest and/or start acting out.
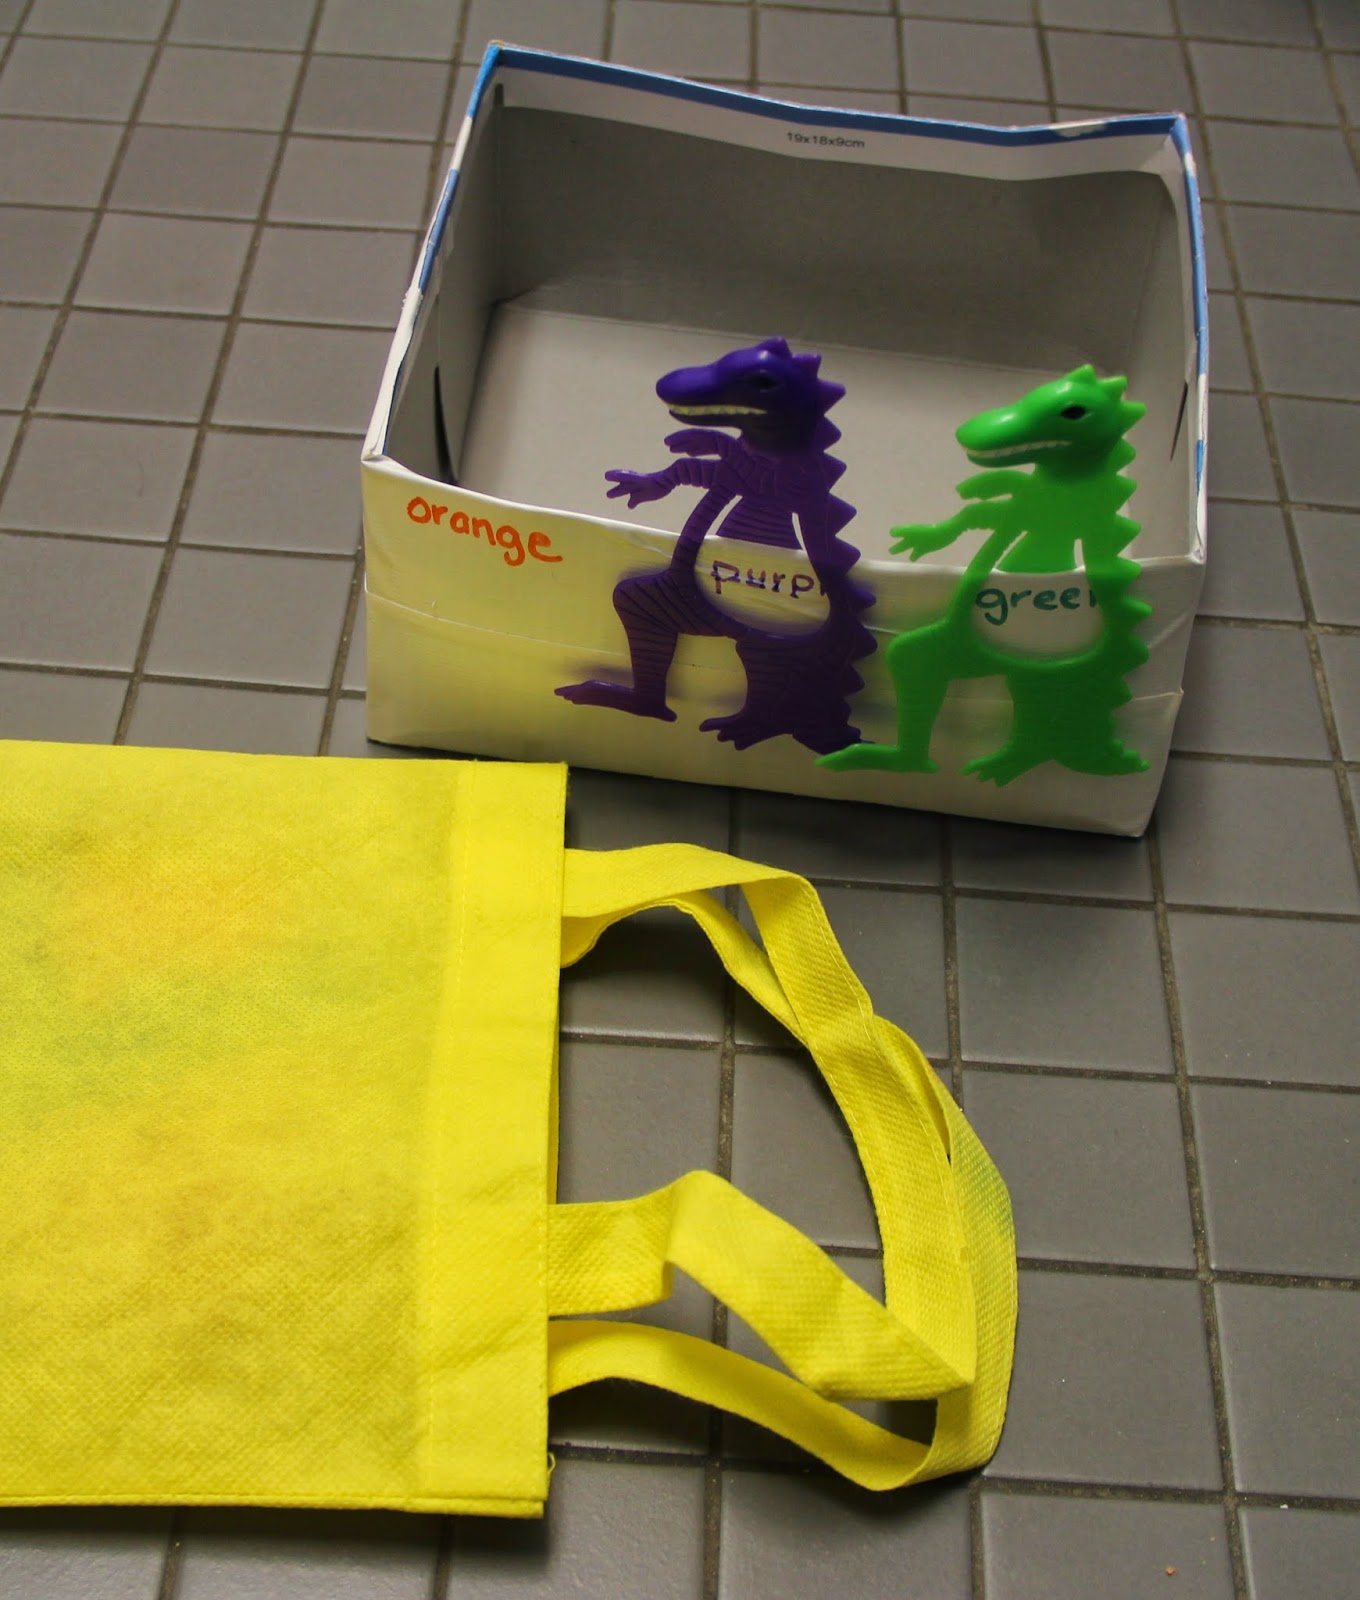
Instructor's Insight: I use fabric bags to increase random drawing. We often use the phrase “take one” and have the kids practice following directions and working on impulse control by only taking one item out of the bag. By using a fabric bag, we eliminate the sound of a plastic bag. It also stores easier than a box or bucket. I love them too, because the fabric gives the student an element of surprise. If the student can see in the bag, he/she may get stuck on picking out a certain item which makes for longer wait time and promotes unwanted behaviors. I have several fabric bags that a foster grandma made for us several years ago. I have also picked some fabric totes up in the craft section at Wal-Mart for a dollar!
Instructor's Insight: I use fabric bags to increase random drawing. We often use the phrase “take one” and have the kids practice following directions and working on impulse control by only taking one item out of the bag. By using a fabric bag, we eliminate the sound of a plastic bag. It also stores easier than a box or bucket. I love them too, because the fabric gives the student an element of surprise. If the student can see in the bag, he/she may get stuck on picking out a certain item which makes for longer wait time and promotes unwanted behaviors. I have several fabric bags that a foster grandma made for us several years ago. I have also picked some fabric totes up in the craft section at Wal-Mart for a dollar!
My staff and I continually monitor student performance and if someone is struggling with a task or activity, we modify the amount of work done or the level at which it must be done. That being said, my staff and I are always the ones to set the limits. If a student is very resistant to an activity, we will empathize with their opinion by saying something like "you want to be all done" but then end on our terms by saying "you need to do one more and then all done.”
We also modify the workload another way. If a child is really interested in something or needs to practice a task more, we will add work. Either way we want the students to feel as though they have accomplished the task. We never undo their work in front of them and always celebrate the work accomplished. It's important to produce activities that are one level beyond the student's individual skill level so the task is realistically achievable.
We also modify the workload another way. If a child is really interested in something or needs to practice a task more, we will add work. Either way we want the students to feel as though they have accomplished the task. We never undo their work in front of them and always celebrate the work accomplished. It's important to produce activities that are one level beyond the student's individual skill level so the task is realistically achievable.
This is demonstrated in the provided video by using my 2 and ½ year old and 6 year old. They definitely have different skill sets but I try to keep them both interested and engaged at their level. For example, I ask my 6 year old questions like "How do you spell the color, blue?" and "Which one has the most?". I then ask my 2 year-old questions like "Is that the same or different?" and "What color did you get?".
Note: He did not know his colors at the time the video was taken, but interestingly enough he was able to use some color words when I facilitated learning with an aided-language board that had colors on it.
Note: He did not know his colors at the time the video was taken, but interestingly enough he was able to use some color words when I facilitated learning with an aided-language board that had colors on it.
Here is a closer look at the structured learning activities that were featured in the video. They are all part of our dinosaur unit. I store the unit in a tub with all my other thematic unit materials. In the future I am hoping to share a blog post specific to each thematic unit that we have done in our classroom. But for now, here are few examples from our dino unit.
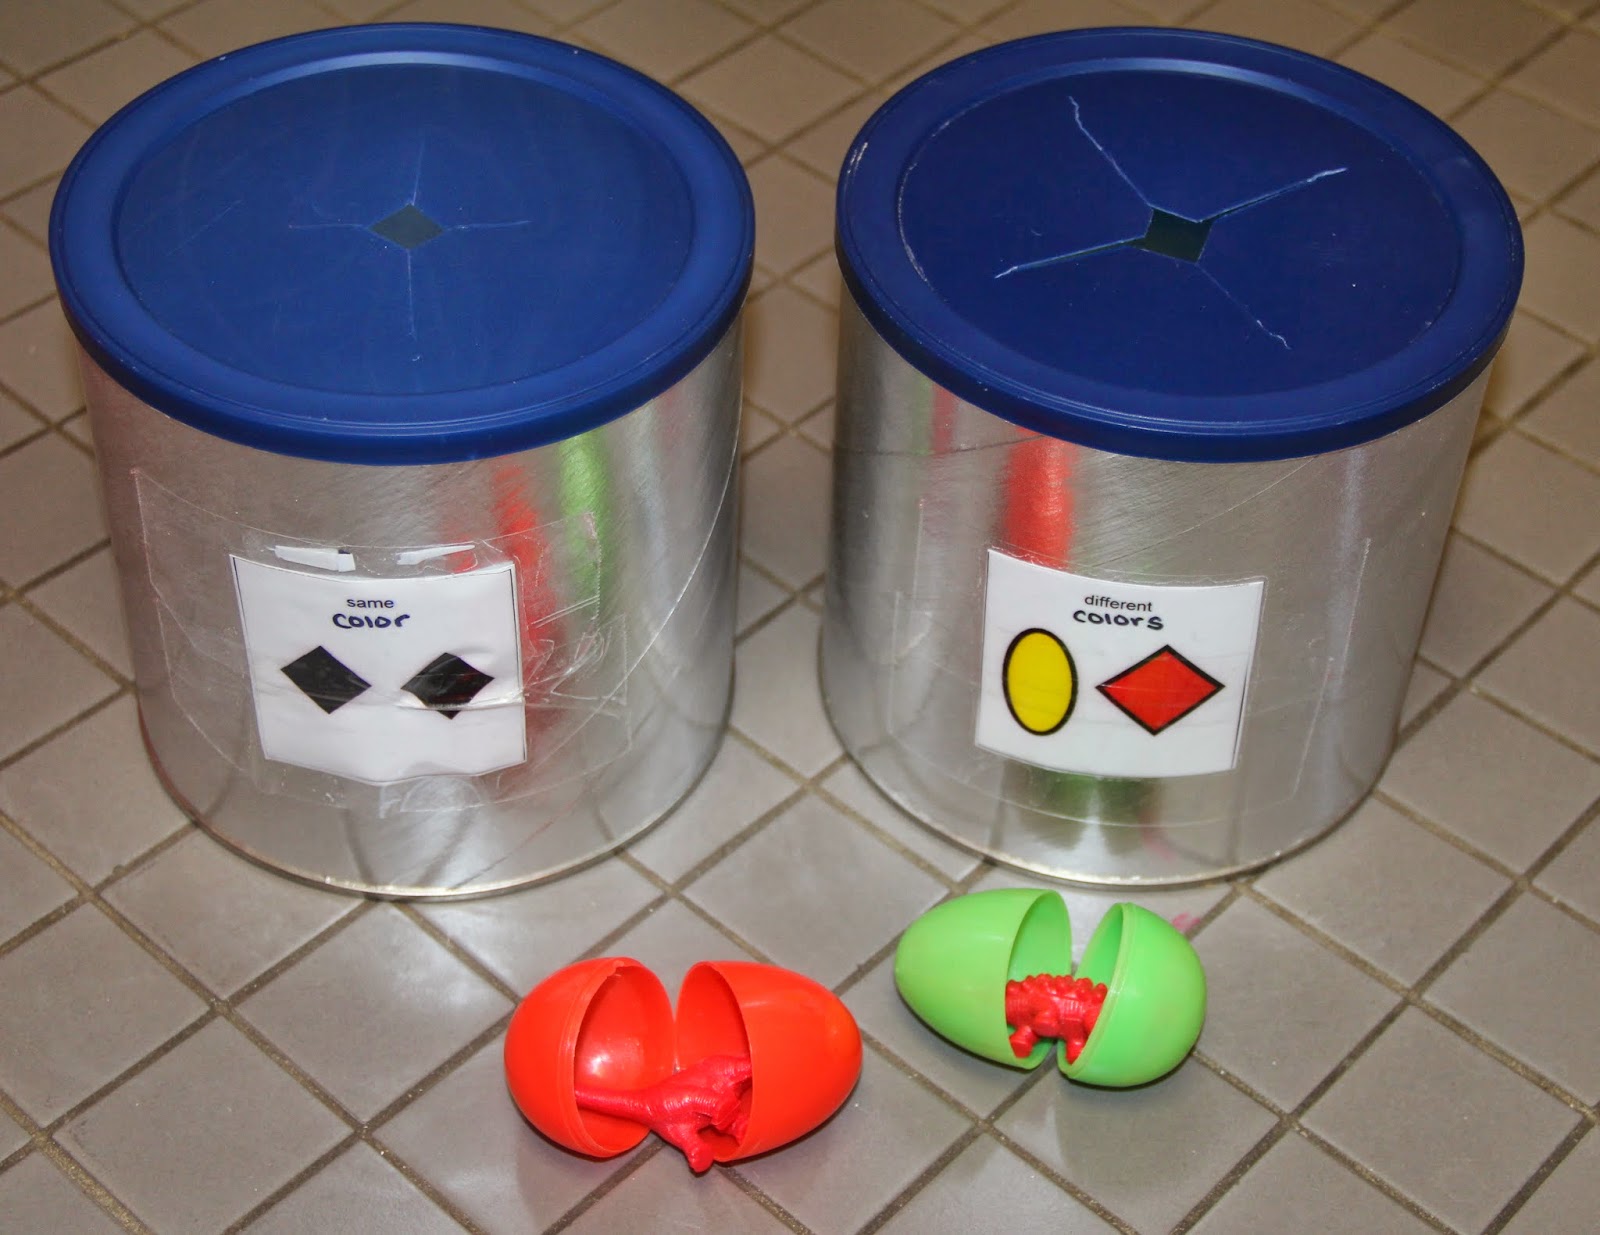
Box One: Same or Different Dinosaur Hatch
.jpg)
I simply use some plastic dinosaurs from discount school supply and put them in plastic easter eggs. The children use their fine motor skills to open the eggs and decide if the egg and dino were the same color or two different colors. They then put the dino and egg in either the "same" or "different" can. Note: I cut four slits in the lid of the can making the students have to push the egg and dino through. This is a nice way to add a little sensory input and it adds a feeling of accomplishment.
I simply use some plastic dinosaurs from discount school supply and put them in plastic easter eggs. The children use their fine motor skills to open the eggs and decide if the egg and dino were the same color or two different colors. They then put the dino and egg in either the "same" or "different" can. Note: I cut four slits in the lid of the can making the students have to push the egg and dino through. This is a nice way to add a little sensory input and it adds a feeling of accomplishment.
Box Two: Magnet Dinosaur Match
.jpg)
This game was printed from Kid Soup. (Kid Soup is a subscription based website where you can print off amazing thematic unit activities. I highly recommend it!!) Note: I packing taped my version to a cookie sheet and then added adehesive magnets to the back to make it more stationary. I also added an aided-language board for the kids to describe what dinosaurs they selected.

This game was printed from Kid Soup. (Kid Soup is a subscription based website where you can print off amazing thematic unit activities. I highly recommend it!!) Note: I packing taped my version to a cookie sheet and then added adehesive magnets to the back to make it more stationary. I also added an aided-language board for the kids to describe what dinosaurs they selected.
Box Three: Dinosaur Color Clip
.jpg)
This is a game I made from some dinosaur bookmarks Miss Molly had left over from her nephew's birthday party. It is amazing how many little trinket toys and party favors can be made into a task!! :)
Box Four: Dinosaur Number Puzzle
.jpg)
This is a simple triceratops puzzle where the kids have to request certain numbered puzzle pieces. The pattern is from an old Mailbox Magazine. (Next time, you will see how this game can be modified for older students at the math center! )
Box Five: Dinosaur Sorting and Cave
.jpg)
For this game, I hot glued a piece of brown felt over an old Lean Cuisine tray. The kids pretend it is a cave to pull out dinosaurs and then place the dino in the appropriate spot in the sorting tray from Lakeshore. I have the complete set of these trays. They are well worth it!! They make any math activity more hands on!
You may have noticed in the video clip that I did not do Box Six. At the time this video was recorded, Box Six had reinforcing activities in it for one of our afternoon kiddos. We do not use the social center for the afternoon kids. Instead, we do math games at the table. Since we don’t use the space for the afternoon, it became a great place for one of our students to spend his earned downtime with preferred toys and games. You can see more details about it in the reindeer reinforce post shared in December.
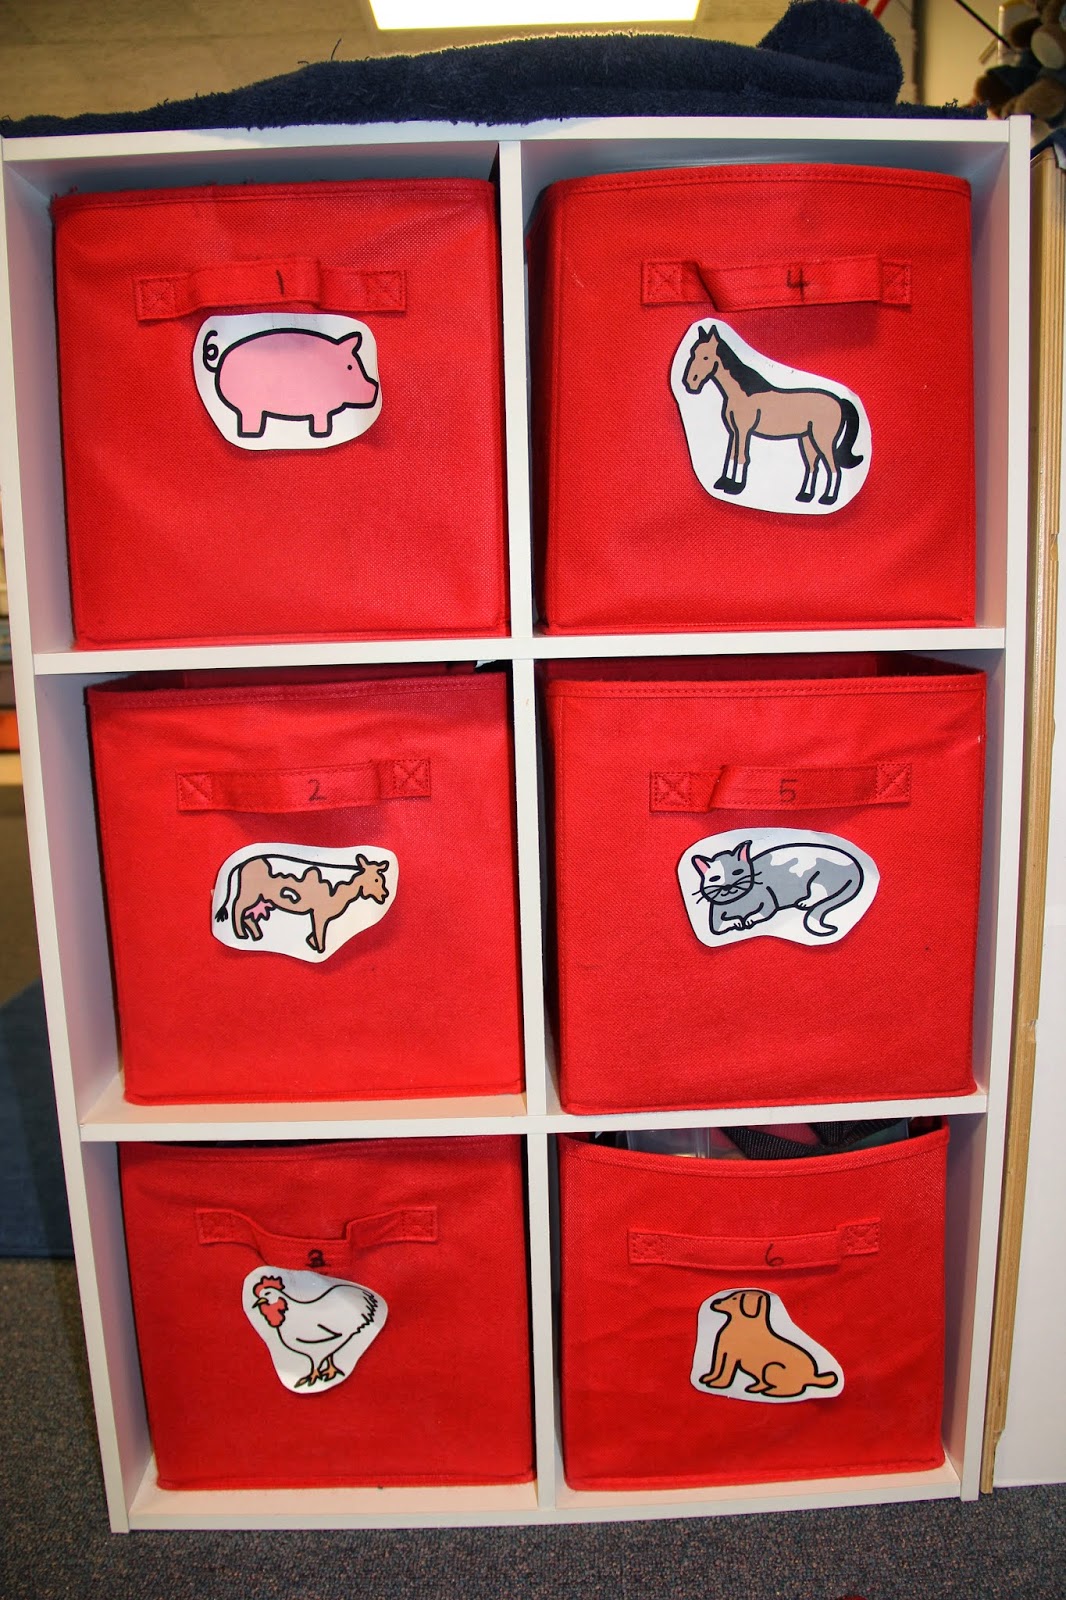
Before I sign off today, I do want to share the latest and greatest at social. As I have mentioned many times before....Our classroom is a work in progress!!! A few weeks ago I noticed that the kids needed a little more visual structure in the social area. Most of the students who use the area do not have a good understanding of numbers and the sequence of numbers. As a result, I added a farm animal icon to each box.
.jpg)
Why farm animals you may ask??? Well, because they are of interest to several of our kiddos. Currently, they are really excited by farm animals. In fact, some of our students are just starting to imitate animal sounds so it gives us a chance to work on verbal imitation by saying things like "Time for the cow box say 'Mooooo'" and the child can have a little practice imitating the sound.
Why farm animals you may ask??? Well, because they are of interest to several of our kiddos. Currently, they are really excited by farm animals. In fact, some of our students are just starting to imitate animal sounds so it gives us a chance to work on verbal imitation by saying things like "Time for the cow box say 'Mooooo'" and the child can have a little practice imitating the sound.
After labeling each box with a farm animal, I made a chart for all the boxes at social and slid it in a 5x7 plastic frame.
.jpg)
This allows the group to mark off what has been completed or the teacher can even mark off a box or two that they are not going to work on for the day. The kids love this addition to the social center. I do too!! It makes staff working in this center that much more accountable for completing the boxes they intended to complete as we all get a little lax after repeating our centers day after day. But repetition is what makes it work for our students so we, as their instructors, struggle through!!
This allows the group to mark off what has been completed or the teacher can even mark off a box or two that they are not going to work on for the day. The kids love this addition to the social center. I do too!! It makes staff working in this center that much more accountable for completing the boxes they intended to complete as we all get a little lax after repeating our centers day after day. But repetition is what makes it work for our students so we, as their instructors, struggle through!!
.jpg)
.jpg)
.jpg)
.jpg)

.jpg)


