Finally...a detailed look at our Art Center!!
Over the years the art center has evolved based on student
needs and staff growth. Nope not the
size of staff members or an increase in the number of staff, but rather us
getting better...thinking smarter not harder!
Like all the other centers, the students rotate through the
art area for 10 to 15 minutes (depending on each student or group of students’
interests and abilities). See specifics about center rotations by clicking here.
When the students come to art, they always have work to do
from Drawer #1 of a three drawer Sterilite system followed by art choices in Drawer #2.
(Drawer #3 houses specific items for snack as snack is
also done at the art table later in the day. The little book bag icon on drawer one is a velcro prompt to remind students to put their finished art work in their book bag.)
Originally, the idea was work first; then make an art
choice. However over time we recognized, that theory was not always doable. For some of the small groups, all the kids in
the group needed one-on-one support to complete the day's art project. Instead we moved to a model in which one student started on the art project of
the day, while others did art choices first then the art project of the day.
As we got going with this technique, Miss
Penny, our fabulously talented para whom ran art, became very skilled in knowing which students needed to do the art
project first so not to lose their attention and which students needed to have
some choice time first and then do their art project. In some cases, this gave students a chance to
see other students doing the art project of the day before it was their turn. In other cases, it reinforced students in working hard on the art project of the day to get to preferred art activities like painting and watercolor.
If needed she would use our trusty sand timers from
watchtimepass.com to prep and prime students for when it was time to change
activities!
So let’s dive in with an example of how all this works! With
Christmas just around the corner, I decided to take last year’s Christmas art
projects as the example. It is quite the
detailed process so stay with me as I share. In the end, I think you will find
it very helpful.
First, at the beginning of each thematic unit, we
explore thematic art choices. For instance, during our Christmas unit we used holiday
cookie cutters, cookie sheets and spatulas to play with play-doh.
And then holiday stamps, stickers and red and green
construction paper as another option to make Christmas cards for friends,
teachers and family members.
Thifty Teacher's Tip: I often pick up crafty holiday items after each holiday
at 50% off or more.
We also try to be creative with art choices for
other thematic units. For example, during our dental unit, we used pink play dough and lima beans to make pretend mouths as a counting and fine motor activities.
(Please use your imagination with this photo as it was taken at home
and my boys rarely use pink play dough! :) )
As a second choice, we laminated a large tooth and had the kids draw pretend food on it based on the pretend food they ate on the flash cards and then wiped it clean with a toothbrush. This idea was adapted from the great work of Tracie Betz. Thanks Tracie!
Thematic choices are provided as well as other constant art
materials like colored pencils, markers, watercolors, glue sticks and
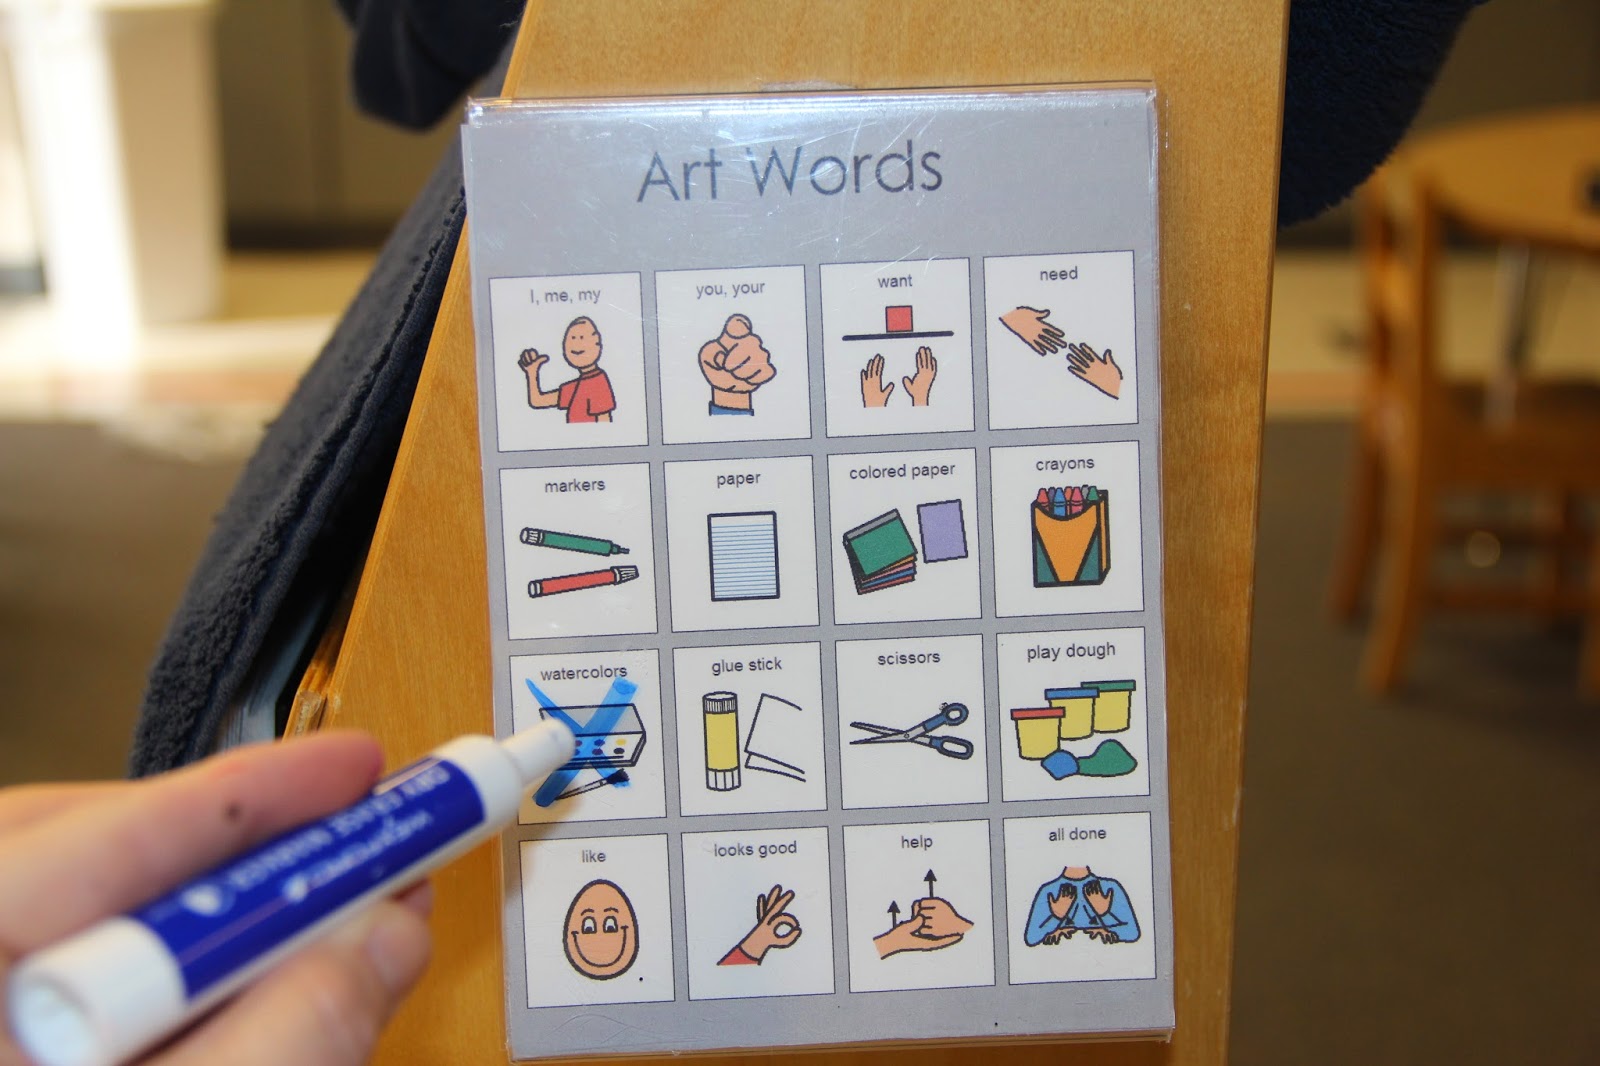
scissors. Students can use an aided language board to ask for specific art choices.
Notice we can mark off materials that are not a choice for the day or we can simply slide in the theme-based choices over the top of
our traditional art choices.
We have found it helpful to have a few
constants and then change it up with a few new options related to the
theme. The new options are always
introduced and taught on the first day of a new theme. That day the art choices are housed in Drawer #1 and there are not any choices in Drawer #2. This is helpful so Miss Penny can model how to play with the
choices and expand on creating and making.
After day one, the art choices move to Drawer #2 and we dive
right into art projects for the day. As I
share the art projects we did each day during our three week Christmas unit, I
will also share a picture of the prep for each activity.
I try to be a theme or two ahead so the prep supplies can be
in the "to do bucket" for staff.
Staff
then cuts and prepares the art projects for each activity when they have a down
moment whether it be an absent student, a student or two receiving speech,
occupational, or physical therapy at the same time, or even between
classes. Note: I write exactly how many
of each item I need and any other notes on the items for prep and then
paperclip them or put them in a Ziploc bag with a sample of the project so
staff knows exactly what we need by going to the to do tub and don’t need
further instructions while I am working with students.
Also note it seems like a lot of work, however art projects
from year to year are stored in the theme boxes so as I prep for themes I
have a lot of examples to pull from.
It is a process! Over the years I collect more and more ideas
for each theme. We try not to do very
many art projects two years in a row as we often have returning students but
some of our favorites get used each year and thanks to Pinterest there is
always room for improvements and updates.
Snowman Countdown Prep:
Note: The students’
art projects are not about being the same.
We always have a model for students to look at but we focus on the
process rather than the end product.
We want the students to have a finished project they are
proud of but each finished product should have it’s own personality with the
student's name on the back. The beauty
being that each student gets practice writing his/her name in a purposeful way almost every day!
I try to plan the art activities so that the ones that can be hung in the hall will be done at the beginning of the theme unit so
they can be up for most of the season or theme.
Art Project for Day 2- Christmas Tree Project:
Note: This one
includes math concepts as the students have to roll a color di to see which color painted lights to put on.
Christmas Tree Prep:
Art Project for Day 3 and 4- Santa Claus Project:
Santa Claus Prep:
Depending on
the amount of steps in a project, sometimes we divide the project into two
days. For example for the Santa project, on day one the kids cut strips for Santa beard and then clip them
together with a clothespin that has their name on it. Day two they pick out their clothespin of beard strips and glue the Santa project together.
We
try to model and support students in using appropriate amounts of glue with
these supports as it is a life skill to only use what you need and gain impulse control! For students who need it, we will use Elmer’s glue stick
that goes on purple and dries clear.
Before student use, we will support them in where to put the glue by
marking lines or dots with a purple marker to match to.
Art Project for Day 5- Ornament Wreath Project:
This project
had the student’s school picture in the middle and was hung on our school
Christmas tree in the office. It is a
tradition to have an ornament made by each student to be put on the tree.
Ornament Wreath Prep:
Art Project for Day 6- Staff Christmas Cards:
The front:
The inside:
Note: Staff and students sign one master copy. Then we make 20 to 30 copies to deliver
with Christmas cheer (and sometimes Christmas carols) to service providers, other
special ed teachers, office staff, cafeteria staff, janitor staff, school
nurse, paras, subs, and bus drivers and monitors.
Staff Christmas Card Prep:
Art Project for Day 7- Wreath Project:
Wreath Prep:
Only prep is to copy the template on card stock and
then fold in half.
Art Project for Day 9- Our Gift to Families, A Traditional Handprinted Glass Ornament:
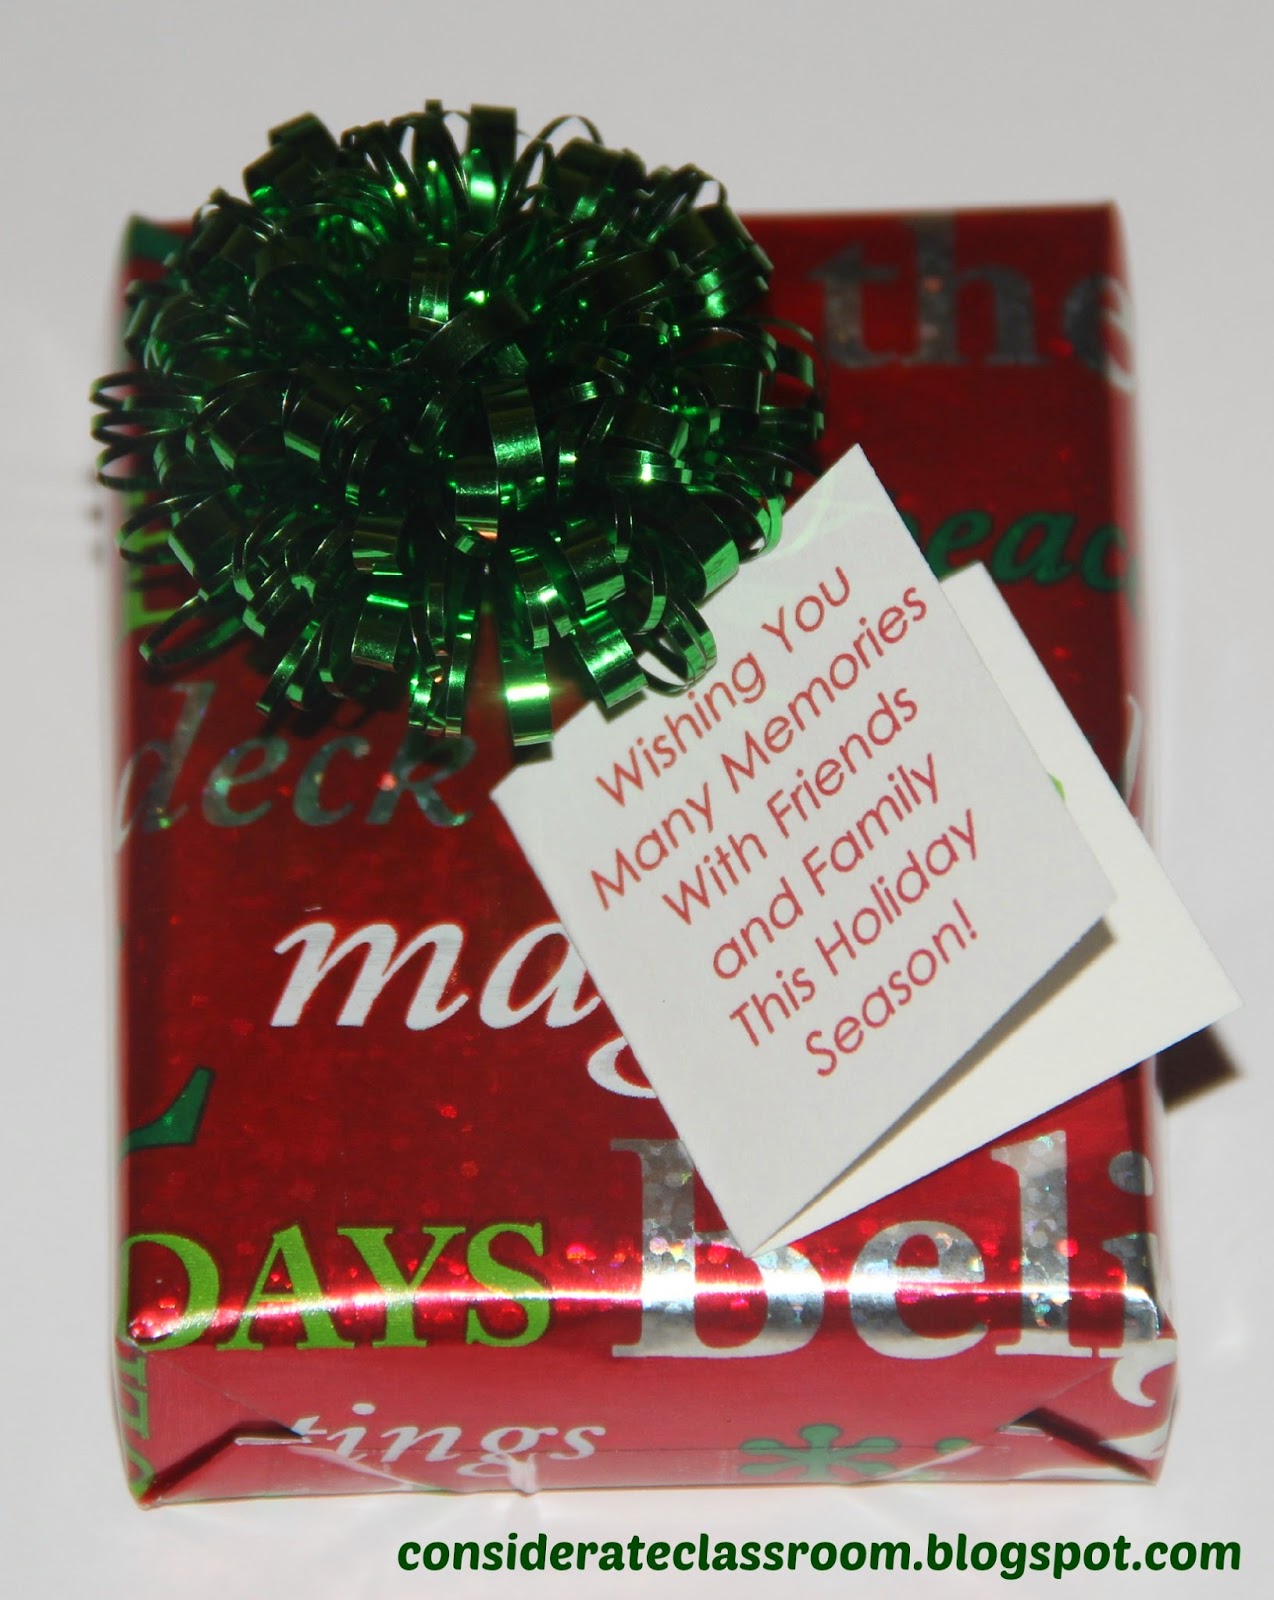
Art Project for Day 10 - Wrapping Paper for the Glass Ornaments:
NOTE: Last year we did patterning with smelly markers. Some years we paint our paper, stamp it or add stickers to it. Tip: We always precut the paper so it is already to go for the kids at the art center. Usually, it's butcher paper or old wrapping paper turned inside out.
Art Project for Day 11 - Wrap Gift
Instructor's Insight: To help with the wrapping of family gifts, we often use the wrist tape bracelet by Scotch tape. The staff person wears it and the students pull off each piece of tape. Not only a great fine motor activity, but it also makes wrapping the gift more independent!
Art Project for Day 12 - Candy Cane Project:
Candy Cane Prep:
And there you have three weeks of Christmas crafts at our first-then art center! Remember we were a four day per week
program with Fridays being a day for consulting with families and daycare centers, as well as IEP meetings and a little planning time.
I know it seems like a lot but by planning and prepping ahead the kids can be so successful and learn so much. Just think of all the skills that were taught in this little ten to fifteen minute time of the day: writing their name, counting, matching color, following directions, cutting, coloring, painting among many other fine motor experiences! Not to mention the opportunity to request.
For several of the art projects, we will slip the materials needed in these I want bags so the students can point to "I want" and then touch the item in the bag.
(Note: In some situations we should change the "I Want" bags to "I need" bags.)
That is it for now! Until next time happy gluing, cutting, writing, coloring, drawing, and creating! Get Creative! :)
Best Wishes,
Lindy