Showing posts with label Independent Work. Show all posts

Wednesday, July 2, 2014

Workbasket Wednesday Link Up


This is my first time to join a linky party, but there is no better way to start than to do one with work baskets as the topic and one of my very favorite blogs, Autism Classroom News as the host! 

Work tubes, work baskets, or work boxes, whatever you want to call them.  The kids love them and learn a lot from them. 

Students and parents in our program are very familiar with them as they are one of the first activities we do with our students to encourage attention to task and support learning to learn skills.  It is amazing how quickly our little ones pick up on the structure of a work basket.  If the structure is there they will succeed!  Especially when it is a work basket of interest. 

Below are three of my favorites that I created specific for a little guy that is really interested in all kinds of sports balls.  Originally, he throw everything he could get his hands on, due to his extreme interest in balls, but as we got him interested in these and a few other ball activities I will share in a future post all the inappropriate throwing went away as he learned when throwing, kicking, bouncing and catching were appropriate and got his fix of doing all four. 

WORK BASKET 1: Soccer Ball Put In


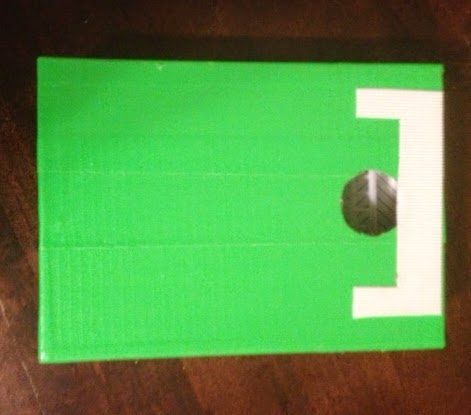
This task is quite simple the student either puts in or flicks soccer erasers into the goal. I got the erasers from the dollar bins at Target and the soccer goal from the cake decorating section at a party store.  To save time I simply covered the box lid with Green Duct Tape and then Velcroed a plastic score goal on top.  Hint: I Velcroed the soccer goal on rather than gluing it so I can take it off to save room when storing it.
 

WORK BASKET 2: Where does it belong?


This task used the other three sports erasers in the set from Target.  I simply made a template with three different columns.  In one I put a baseball diamond, another a basketball court and then the other a football field.  The student sorted the balls by putting them in the correct hole.  TIP- One of my favorite boxes for tasks like this are kid’s Nike shoe boxes.  They are sturdy, and little for storing. 

WORKBASKET 3:  Who does it belong to?


This task simply involved making a second template with the people who play the various sports.  I removed the sport locations and googled images of a basketball, football, and baseball player to add to the second template.  I choose to make my sports players 2D as they stand upright with a Velcro tab at the bottom.   

And there you have it a two in one task.  I simply Velcro the second template over the box when we are ready to give the who does it belong to skill a try.

If anyone out there would like to give the Where does it belong and Who does it belong to sports editions a try in their classrooms, feel free to email me at considerateclassroom@gmail.com and I will send you my template. 

Happy Workbasket Wednesday Everyone!  Whew---I just barely made it in by Wednesday:)


Tuesday, February 26, 2013

iPad Divider: Creating Individual Work Spaces

Last year, I started a system where students would work at direct instruction in small groups of two or three students.   I had each student work one-on-one with me while their peers reviewed concepts and skills on the iPad. 

This system was extremely helpful because it gave me an opportunity to work individually with a student on specific academic skills like writing his/her name and labeling colors, shapes, numbers and letters.

However, there was a small problem with this system.  Because the iPad is highly motivating and interesting to children, students working with me would be easily distracted by the students working on the iPad.  I couldn't move the students who were working on the iPad because they often need support in using it, especially in transitioning from one app to another.

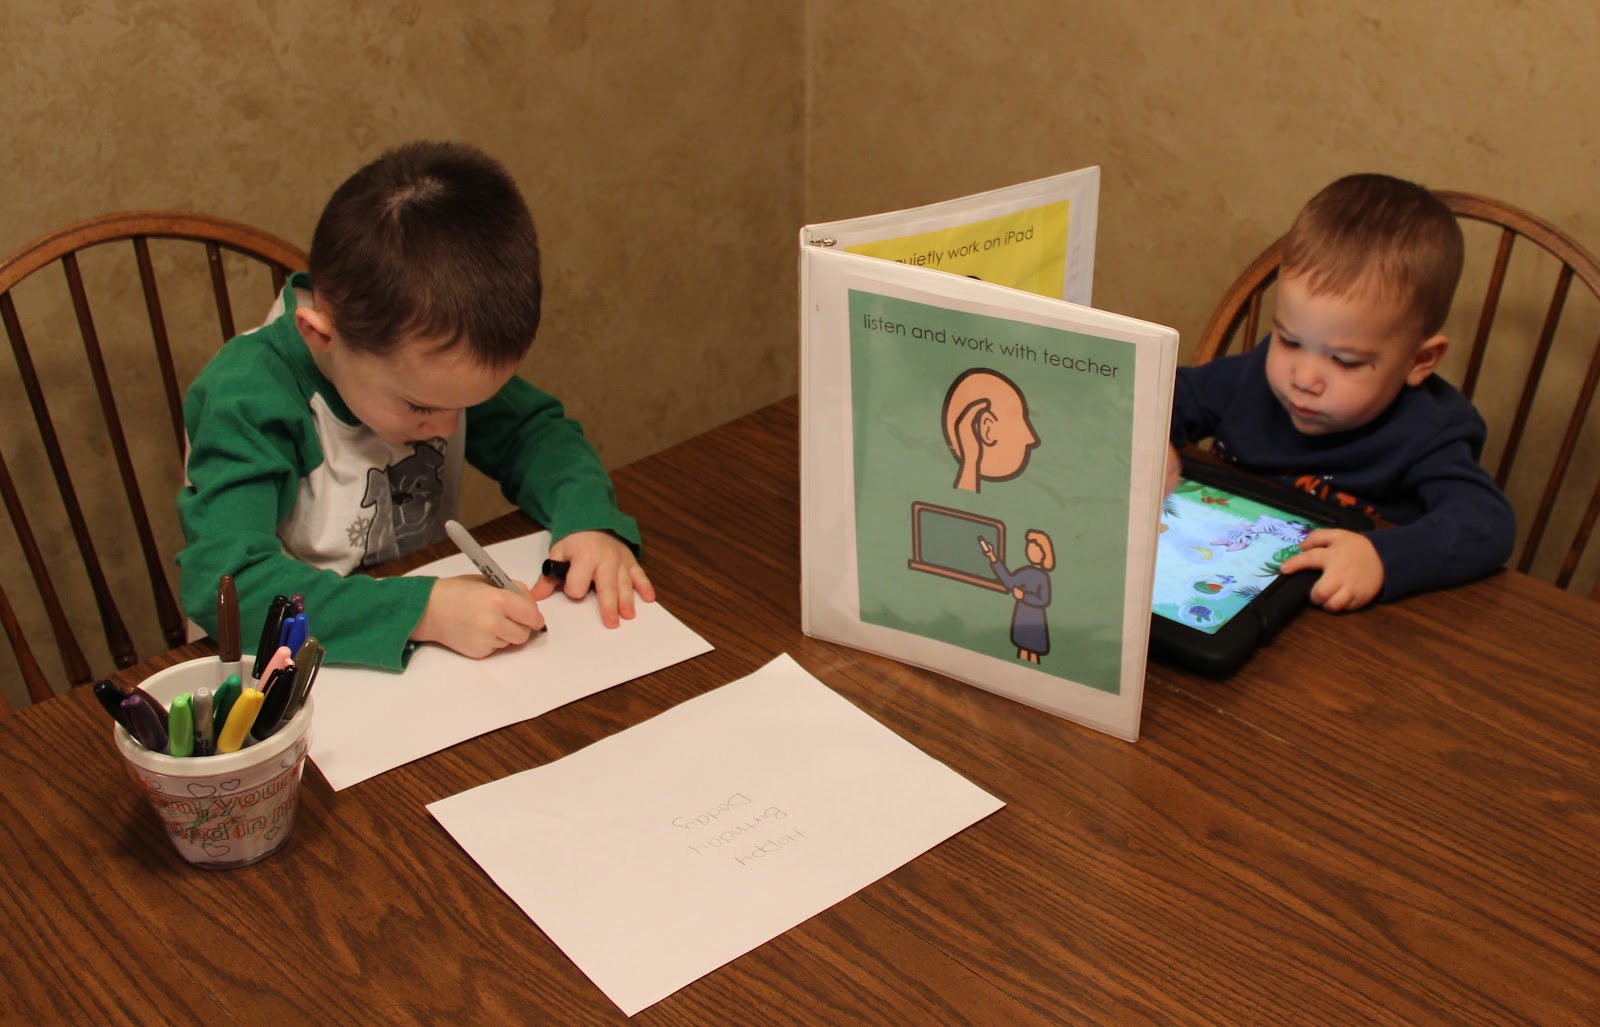
Rework:   I developed visuals to help students focus on both their individual teacher instruction and iPad work times.  The visuals are placed on the inside & outside of a binder.  The binder is then propped up to divide the work space for the children.  


Quiet Prompts are taped to the inside cover of the binder & 
reminds the student to "Quietly Work on iPad".
Listen & Work prompts are slid into the binder's clear cover &
reminds the student to focus on individualized teacher instruction.  

Here is a picture of my boys using the visual. Payton worked 
on the iPad, while EJ & I made a birthday card for daddy.


Tuesday, February 19, 2013

New Year's Resolution Update & Task Box Countdown: Task Box # 10 - Pincer Grasp Bead Grab

Today is the final task in my Taskbox Countdown.  As you may recall, my New Year's Resolution was to use my classroom materials in a more purposeful and sequential order. 

Post Update:  I really did have the very best of intentions to get my classroom organized this year. Unfortunately, life had other plans.  The sickness of my own boys, as well as managing daily stresses like classroom paperwork, new students, IEPs, and inservice trainings have kept me busy recently.  However, I owe it to my readers to press on with my New Year's Resolution. Frankly, this blog keeps me accountable and I refuse to be one of the 92% who do not keep New Year's Resolutions!

So even if it gets done December 31, 2013, I will get it accomplished! Stay tuned & please keep me accountable! In the meantime, I'd love to hear about your classroom happenings and how you adapt my ideas in your classrooms.  Join the discussion on Facebook! 


Task Box Countdown: Task Box # 10 - Pincer Grasp Bead Grab

Several years ago, someone donated small tackle boxes of pony beads to the classroom.  For the longest time we used them to make bracelets and necklaces at the art center until I came up with this special function.  

Melissa, an occupational therapist in our school district, explained to me that children can really exercise their pincer grasps by digging small items out of little cases and containers.  For example, instructing them to use their thumbs & pointer fingers to pull out coins or beads from film canisters.  This is an excellent fine motor activity! 

With this idea in mind, I created two different tackle box activities that work on fine motor skills to strengthen students' pincer grasps while simultaneously providing students an opportunity to review colors, numbers, and counting.


In the above task, the students take the film canisters from the top row, read the color on them and put the same colored bead inside the canister. They then put the lid on them and place the canister in the third row (a.k.a. the "all done" row).


In the above task, the students take the film canisters from the top row, read the color and number label on the canister and then fill them accordingly.  When finished, they put the lid on the canister and place it in the "all done" third row.

Teacher's Tip: Although this task serves two purposes, I am able to store them together in one tackle box to save space.  (Keeping in line with my New Year's Resolution!)


Thursday, February 14, 2013

Task Box Countdown: Task Box # 9 - Magnetic Answers


This taskbox is an oldie...but goodie!  I originally created this activity while in college, as a supplement to a magnetic theme I submitted for a thematic unit assignment. It was long before I knew anything about task boxes and work systems.  But makes for an excellent task box because it could easily be used for a variety of learning concepts. 


Simply make a worksheet of questions with Yes/No  answers.


Then, glue the worksheet to the inside of a file folder.  (Teacher's Tip: Laminate the worksheet before gluing it to the file folder for added durability.) Next, program the back of the file folder to showcase the correct answers by hot gluing circle magnets to the back of the folder directly behind the correct answers.  Finally, glue another file folder over the top of the magnets to hide the answers. 


Provide your students with magnetic dots to answer the questions.  They simply read the question and cover the correct answer with a magnet.  It is a fun self-correcting activity that could be used for any age to review concepts or for test prep.


Thursday, January 31, 2013

Task Box Countdown: Task Box # 7 - Lid Color Sorting

This is one of my most recent task boxes.  In full disclosure, I actually came across it at Walgreens quite by accident!  I was there looking for marked down items during the post-Christmas sale when I spotted these colored contact lens cases.  (You know you are a special education teacher when you spot something odd and immediately purchase it for your classroom!)  Anyway, it was a "buy one, get one have ½ off" sale... SCORE!!  So I purchased one set of six for $6.00 and got the other set of six for $3.00!  I didn’t realize I would actually need both sets until I got home. 


When I got home and opened my amazing purchase, I realized it could actually have two levels.  Students could work on self-help, fine motor, and color matching skills by screwing on two matching colored lids. 

Or by adding the other set of cases, the students could work on screwing on the lids using two attributes color and letter.  Like all contact lens cases, each lid has L or R on it. I simply mixed the two sets up so higher level  students can work on making a letter and color match at the same time
What an easy multi-purpose task box to throw together!!  You could even have students work on unscrewing the lids if you choose.  I find that simple tasks like this are the best! They piqued student interest, work on important self-help skills and support student independence and self-confidence because they are completing these task boxes all by themselves!

Thursday, January 24, 2013

Task Box Countdown: Task Box # 6 - Magnetic Sort

Continuing on the Task Box Countdown is this clever little activity...

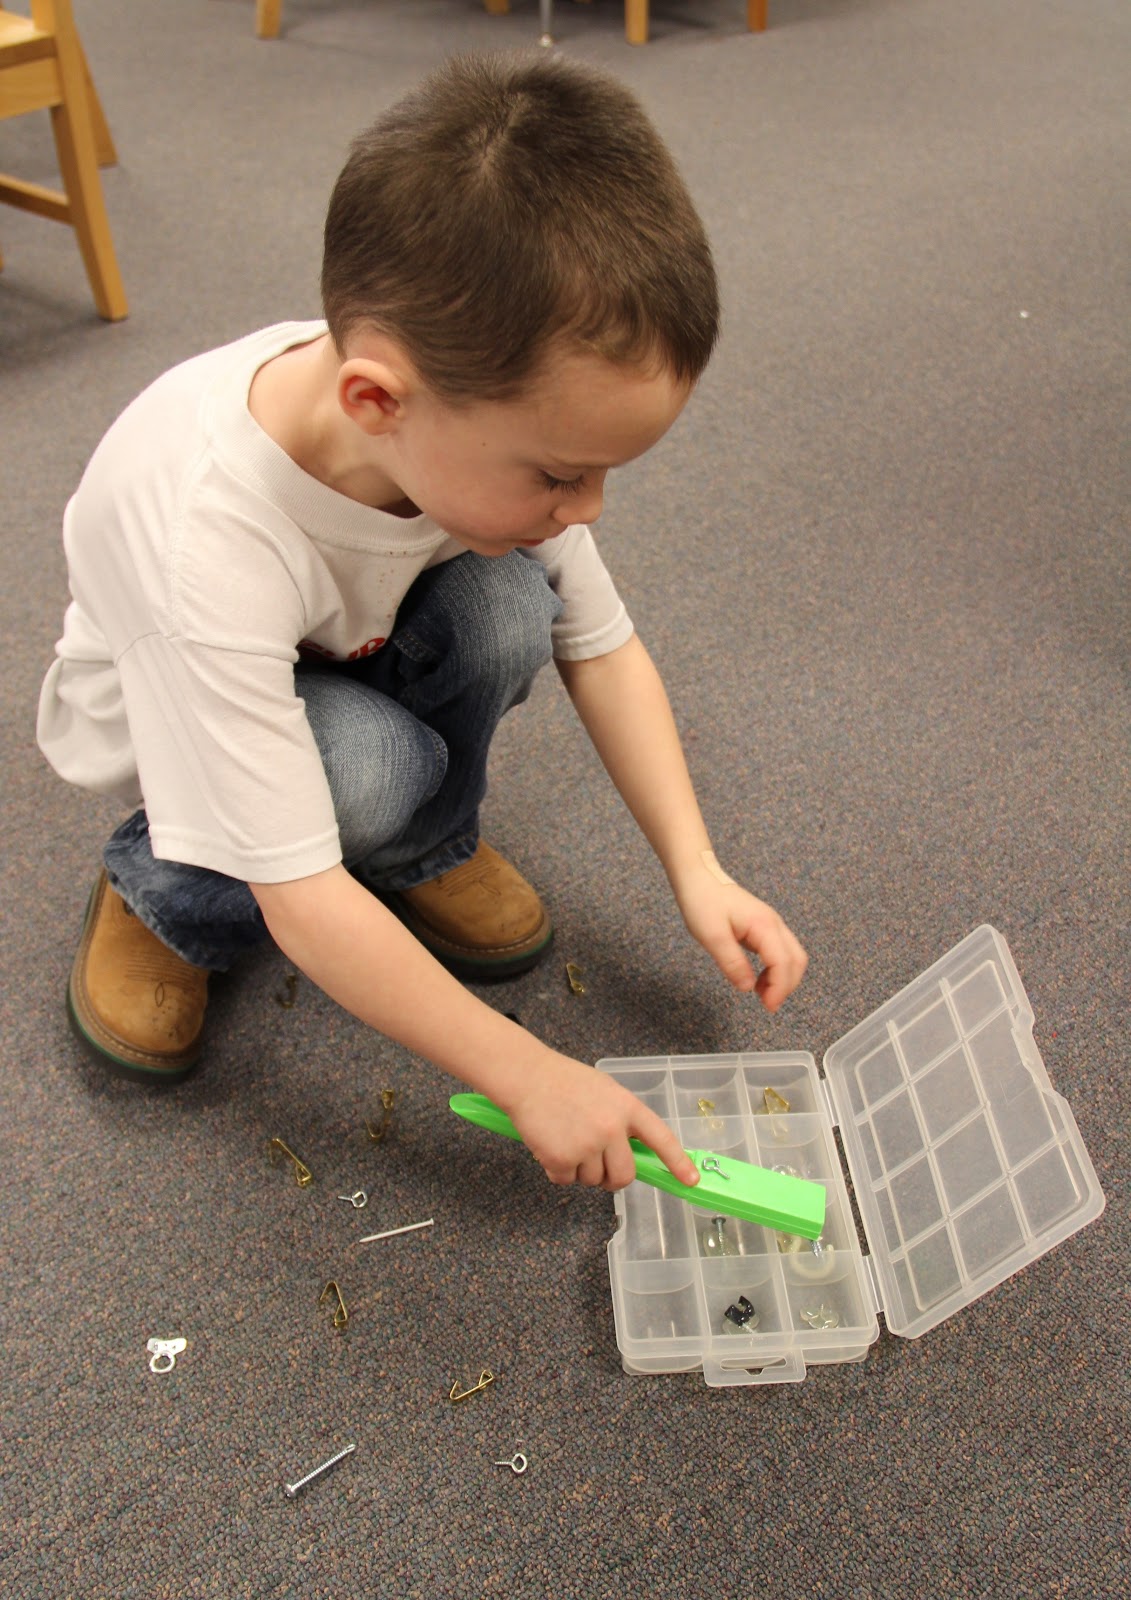
Are you and your students getting tired of the same old sorting tasks?  (Yep, me too!) Well, here's a new idea. It's simple.  Get an old divided tackle box container.  Gather nails, screws, hooks, bolts, and other magnetic parts from around your house.  Then,  hot glue one of each part onto the bottom of different tackle box compartments.  (It doesn’t look real pretty but it's durable and makes for an easy object match-to-match sorting activity.)

Instructor's Insight:  For older students, take a permanent marker and write the names of the various magnetic parts on the bottom of each compartment so it becomes a reading task or draw images of the items to create an object-to-picture sort. 

Next, provide your students with a magnetic wand.  You can purchase them at any teacher supply store.  (I purchased mine for super cheap at Discount School Supply.)  Spread the magnetic items on the floor or table. Let your students grab them with a magnetic wand and sort them.


Here's my son giving this task box a shot!

Thursday, January 17, 2013

Task Box Countdown: Task Box # 5 - Math Calculator

Halfway through my Top Task Box Countdown, let's recap the first four posts.

  • Task Box #1: Academic Sensory Bags
  • Task Box #2 - The Bubble Gum Machine Fun
  • Task Box # 3 - What Goes Up? and What Goes Down? 
  • Task Box # 4 - Shape Sorting

Now bringing you, Task Box #5 - The Math Calculator. 

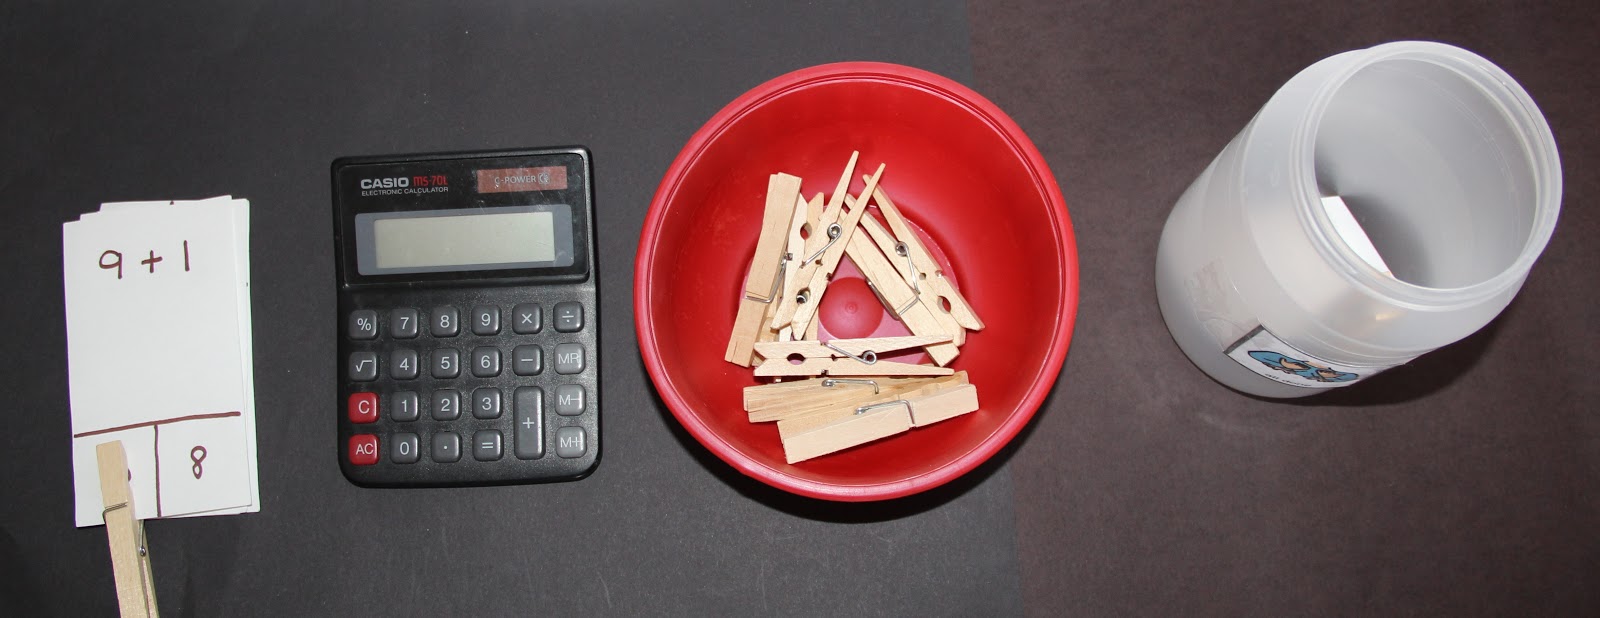
One of my students last year had been doing work boxes for quite some time.  He was getting bored with the same old skills and boxes.  But he still did not have the concept of completing work independently in a timely manner.  He needed a little motivation. A task that would catch his eye and keep his interest.  He loved technology so I thought I would give him a shot at using a calculator.  It worked!! The student loved the "magic" of a calculator.  


I cut index cards in half, and wrote simple addition formulas on the top with 2 potential answers on the bottom. 


The student was not good at writing and needed to work on strengthening his fine motor skills so I added a fine motor element for an added challenge.  During independent work, he would use the calculator to add the two numbers together. Then, he would mark the answer with a clothespin and put it in the "All Done Can". 

Although this did not support the student in learning simple addition calculations, it did work on two other needed skills: fine motor strengthening and independently working to complete a task.  It also was successful in keeping the student interested, motivated, and exposed him to math concepts.

Tuesday, January 15, 2013

Task Box Countdown: Task Box # 4 - Shape Sorting

When my students are first introduced to the skill of sorting, I always have them sort different types of items like toy cars vs. bouncy balls or crayons vs. glue sticks.  

Next, we advance to sorting items by color.  They sort like items in different colors like counting bears or pom-poms.  They then move on to sorting a variety of objects by color like various toys or writing utensils.  

After they've mastered that skill, I like them to work on sorting by different attributes.  One of the attributes, I find very important is sorting by shape. 

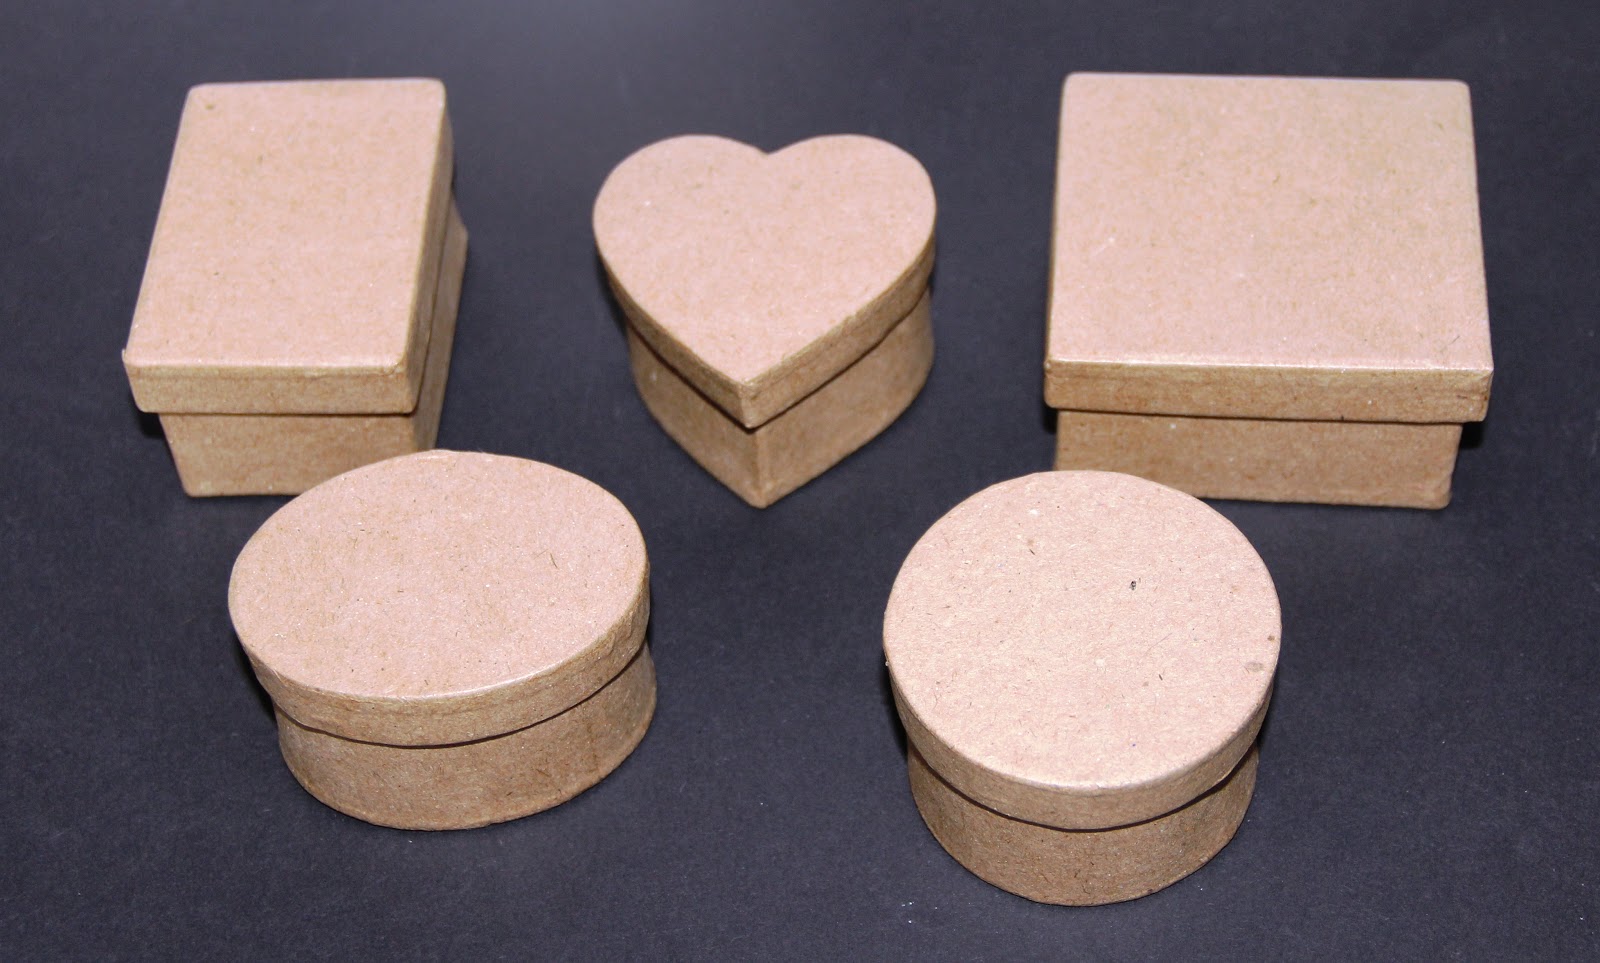
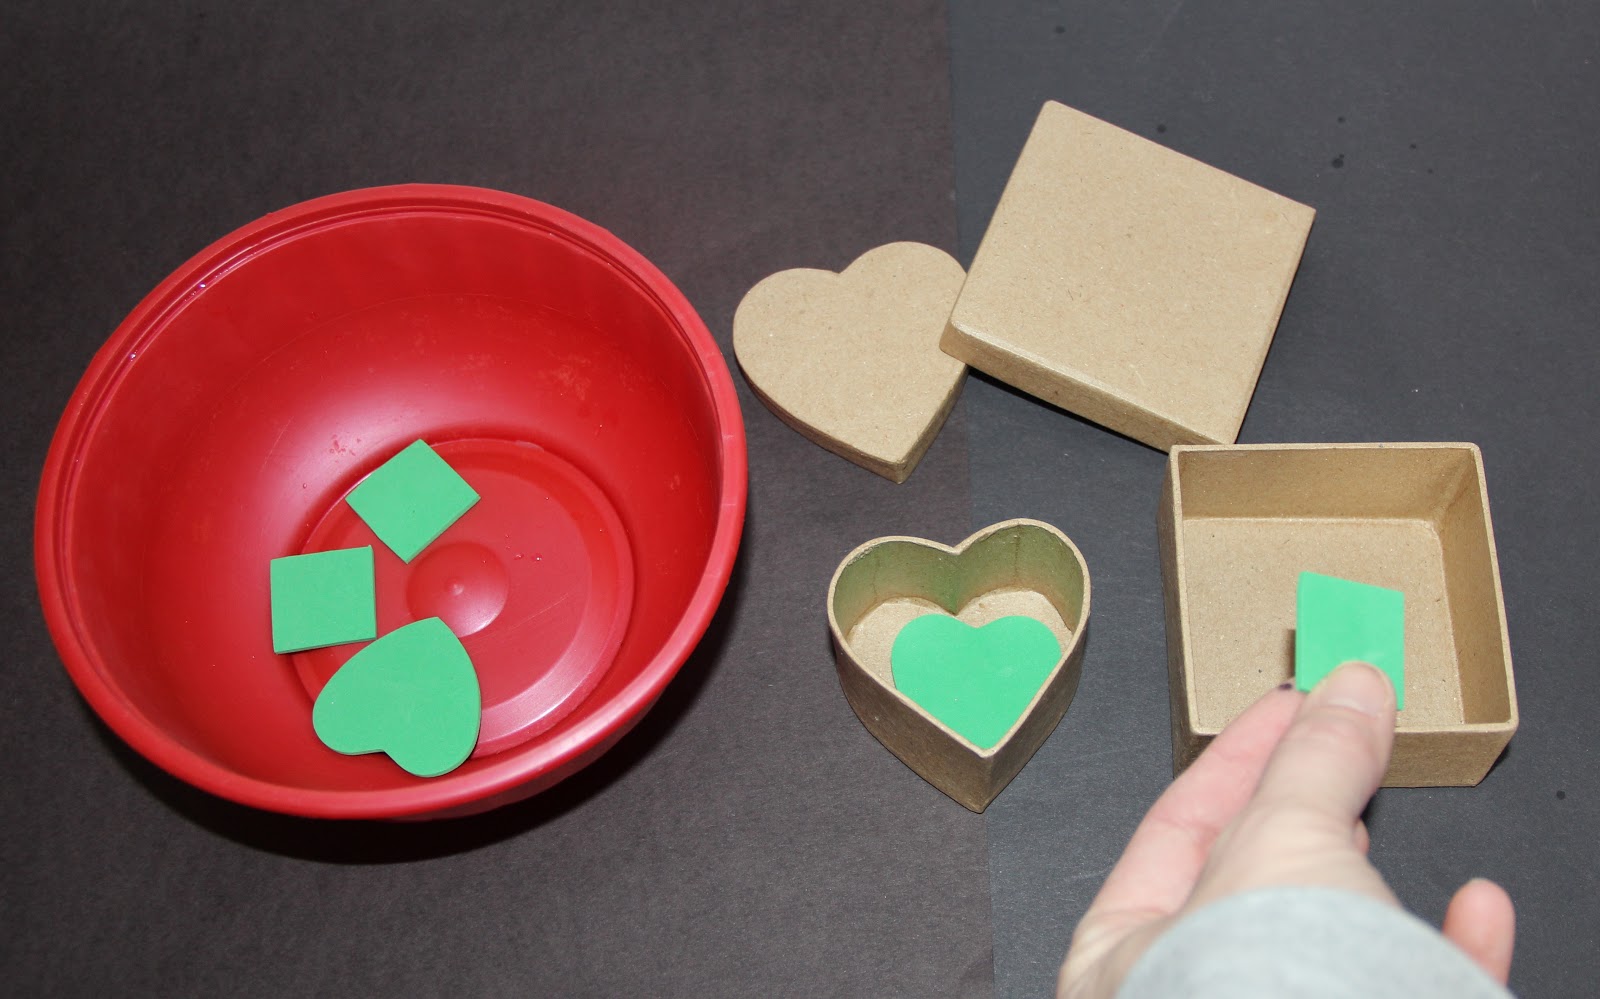
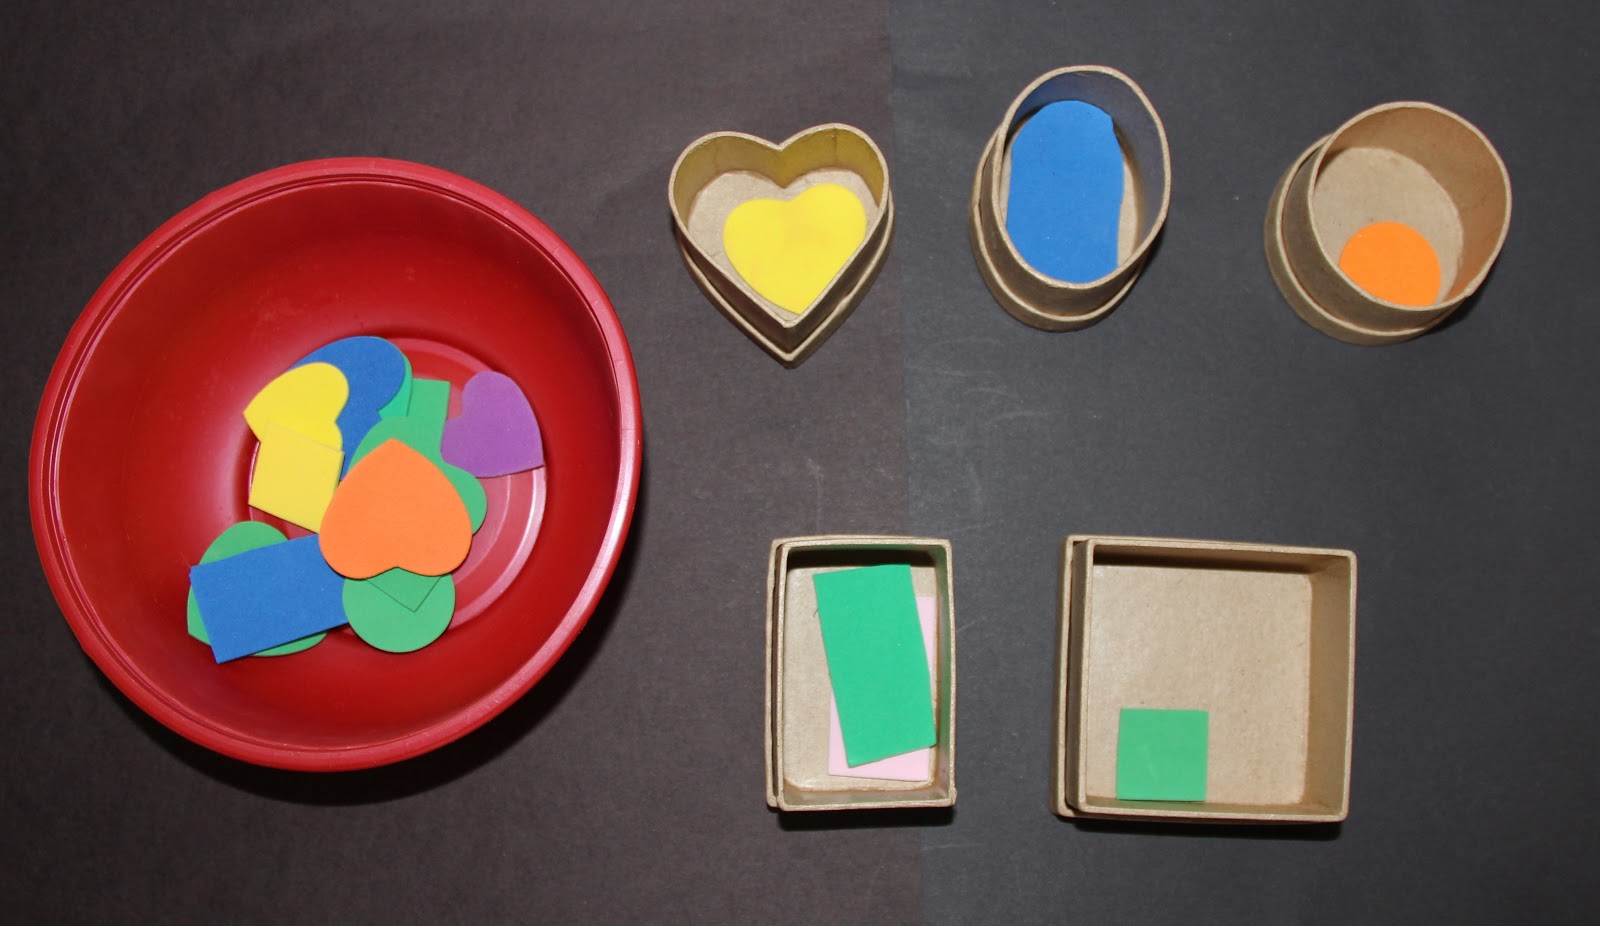
Rather than having students sort items into piles, I much prefer this hands-on approach to shape sorting.  I purchased little paper mache boxes of different shapes at Hobby Lobby.  I have a circle, oval, square, rectangle, and heart.  


These boxes are great because they also add fine motor, self-help and problem solving skills as the students have to work to take off and put on the lids. 

I then cut out foam shapes all of the same color to be sorted.  We start with only sorting two different shapes then move toward sorting a variety of shapes. 


After the students have learned that skill, I add the element of color.  Although they are still sorting by shape, I want the children to ignore the unneeded information of the various colors and continue sorting by shape.  This can be tricky for some because the children have already practiced color sorting extensively. It becomes natural for the students to focus on the color of the shape even though it's an irrelevant characteristic. 


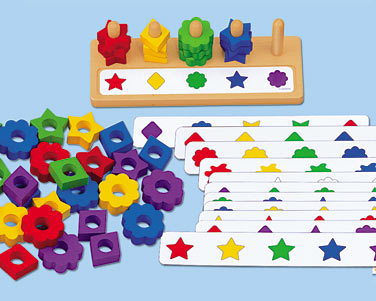
After mastering that skill, I often move on to a color shape sorter I purchased from Lakeshore a few years back.      

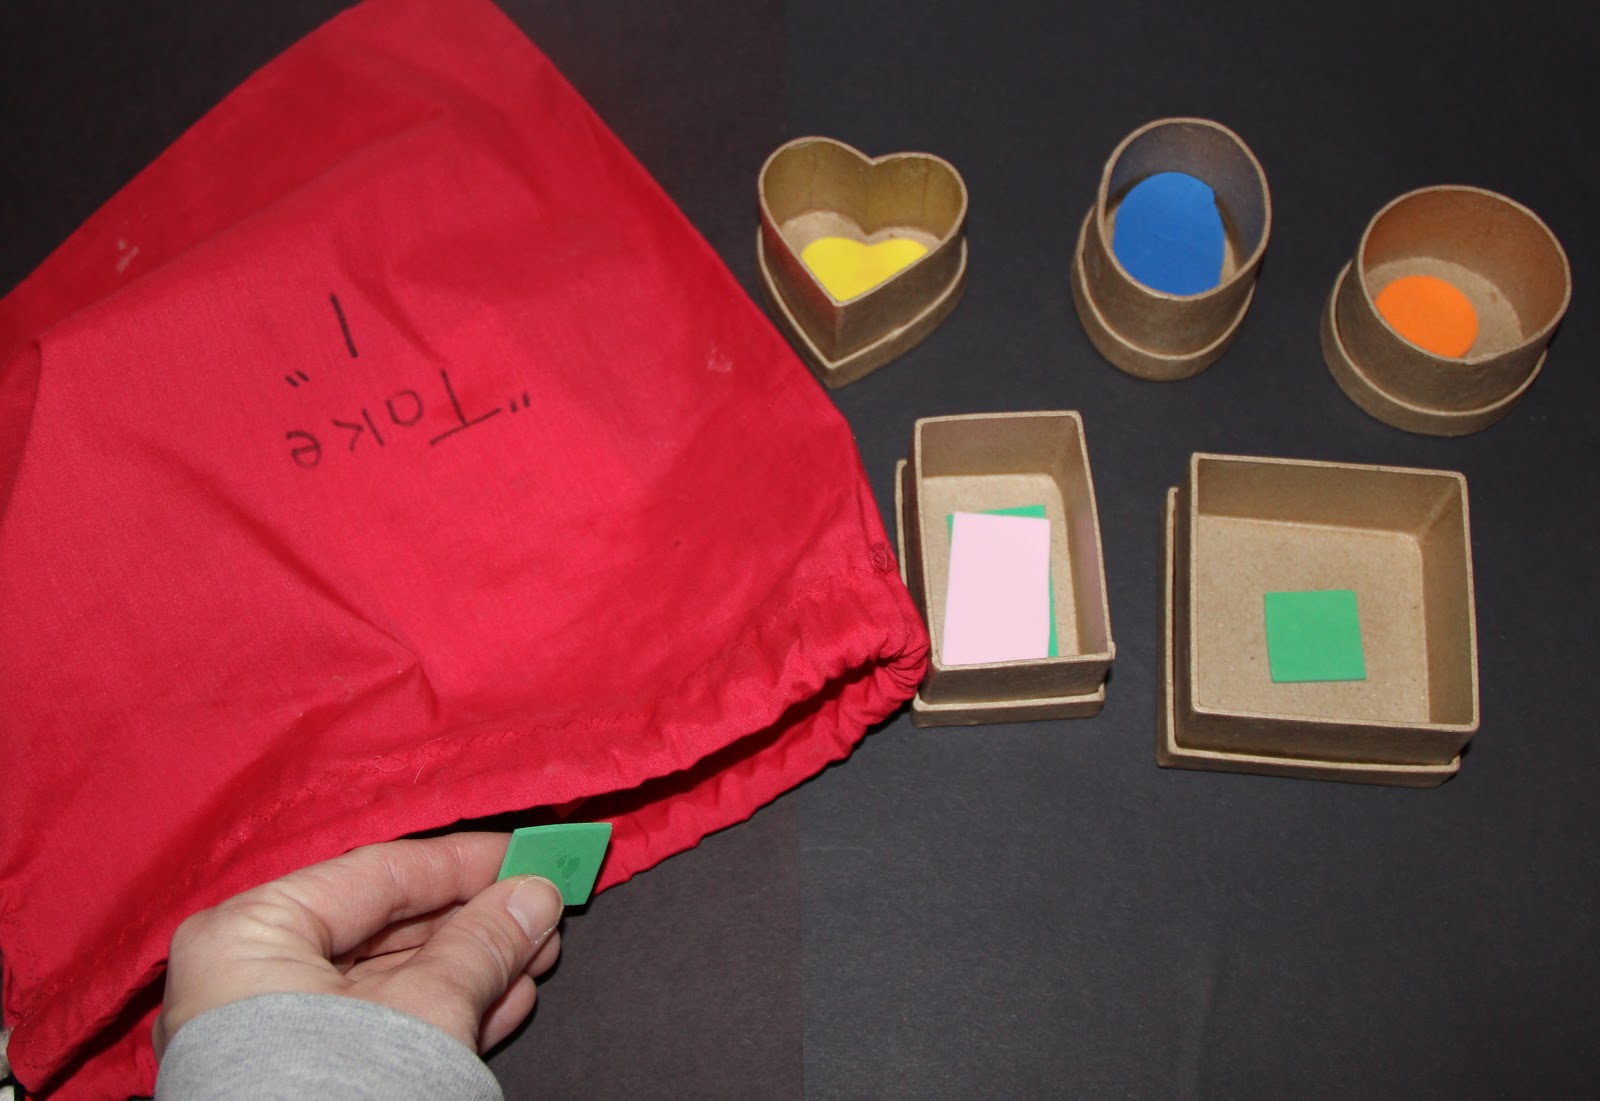
Another skill, I add into this task during direct instruction is the concept of taking one.  I put all the shapes in a fabric bag and request that they pull one out from the "Take 1" bag. This is an important social skill because some students will take a handful when presented with a bag or bowl full of items.  I often remind my students it is good manners to just take one.


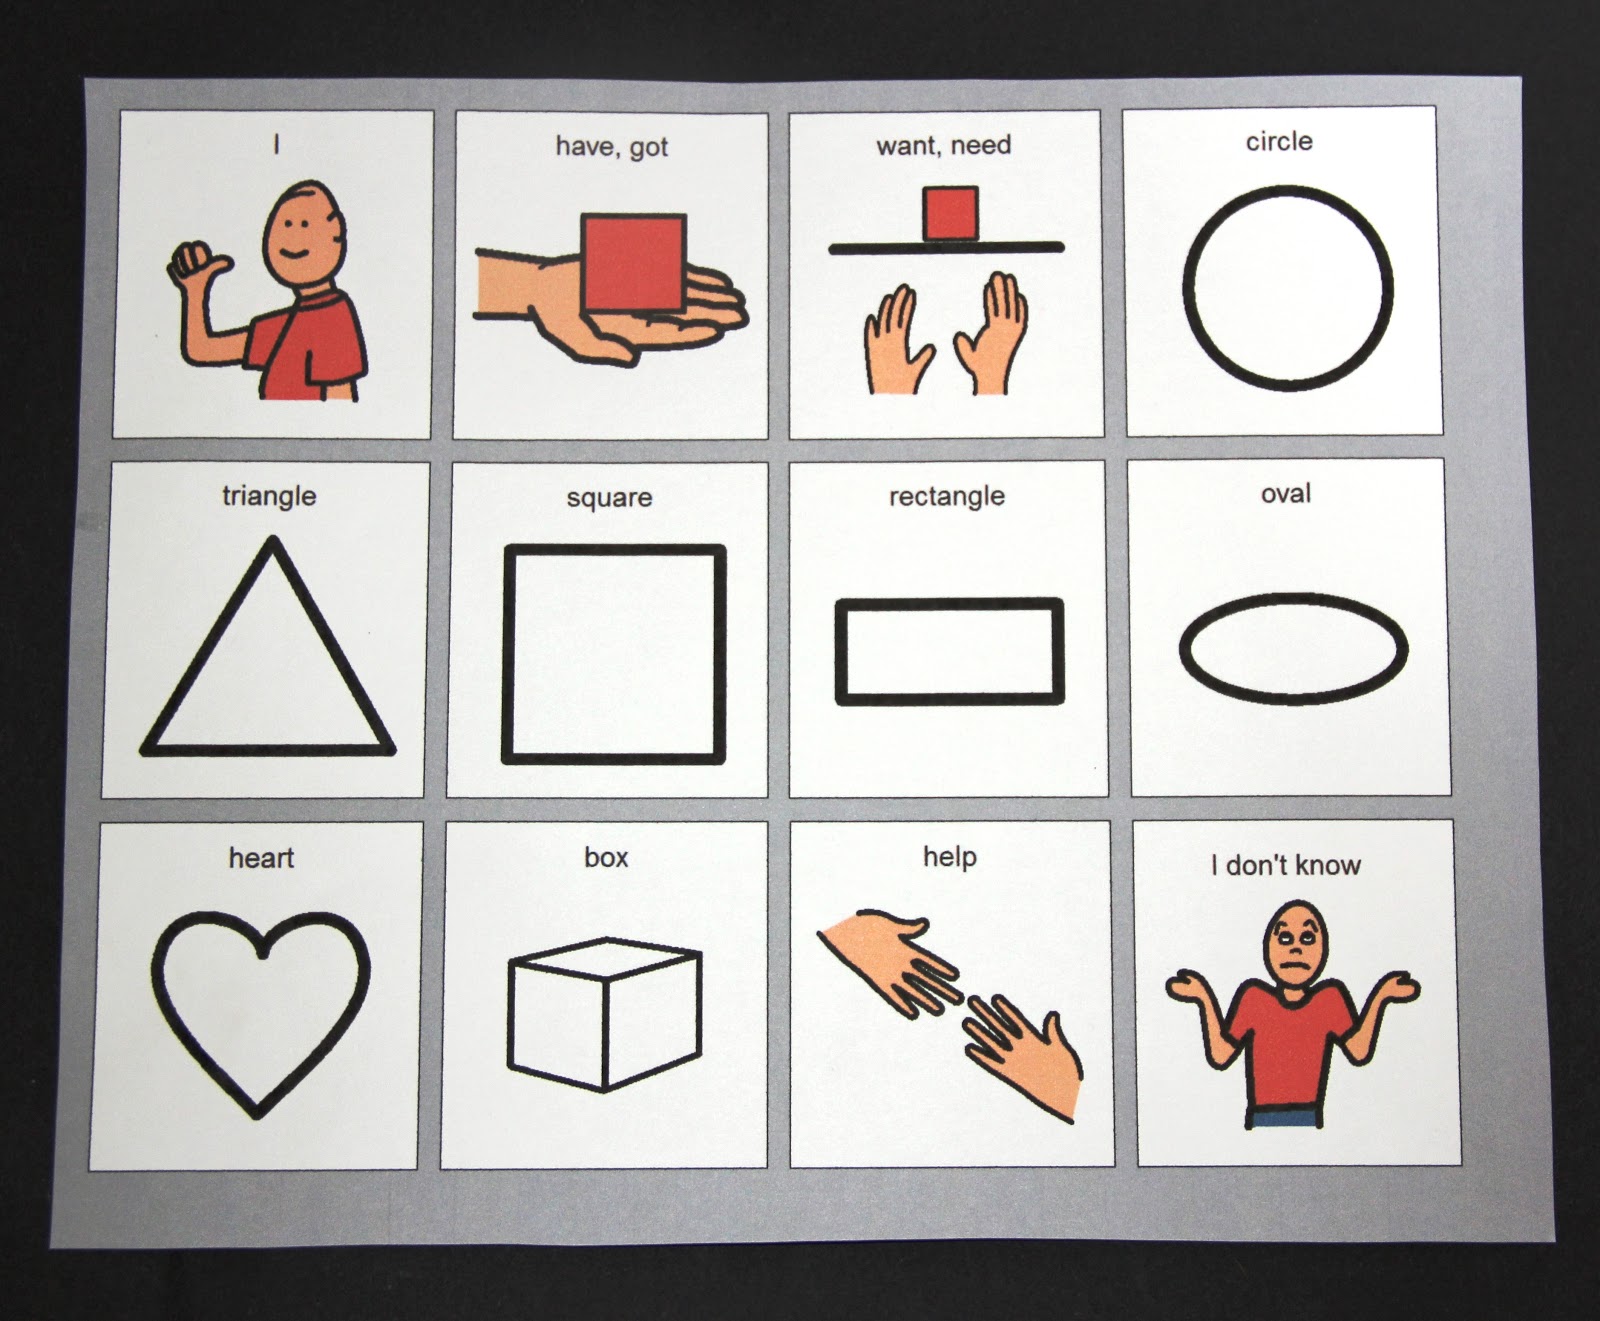
I also added the element of requesting for those students that need practice with labeling shapes and using their voice.  I will do that using the below aided language board.  I will hold the shape boxes back after they draw a shape out of the back them must request the correct box to but it in. 


Thursday, January 10, 2013

Task Box Countdown: Task Box # 3 - What Goes Up? and What Goes Down?

Moving right along in my "Top 10 Task Box Countdown"... Coming in at #3 is this clever little homemade sorting device.   

Several of my students struggle with opposites and prepositions. In an effort to help them understand the concepts of up and down, I created this simple work task that provides a visual of up and down while simultaneously providing a hands-on learning activity. 

Rather than just sorting things that go up versus things that go down into two separate piles. I wrapped a Pringles can with construction paper and cut slits at the top & bottom. I then wrote “Things that Go Up” around the top slit and around the bottom slit I wrote “Things that Go Down”.

Using Boardmaker, I created calling cards of things that represent up like a bird, airplane, butterfly, & clouds, etc.  I did the same for the down cards using representatives like caterpillar, car, grass, etc. 
CLICK HERE for the Up and Down Printables

The students love playing this game during one-on-one or small group instruction with a teacher or staff person. Although I recently realized that if I intended for the students to use this task during independent work, I needed a way to check their completed work. So I asked my husband to cut the bottom out of the Pringles can.  I put a second Pringles lid on the bottom and taped a piece of cardstock in the middle of the can.  (It's not pretty but it serves the purpose!) 

Now when the students put something into the top slit, it stops half-way down. And when they use the bottom slit, the card goes to the bottom.  Making it easy for my staff and I to go to the independent work area later and check a student's work.